- Empty cart.
- Continue Shopping

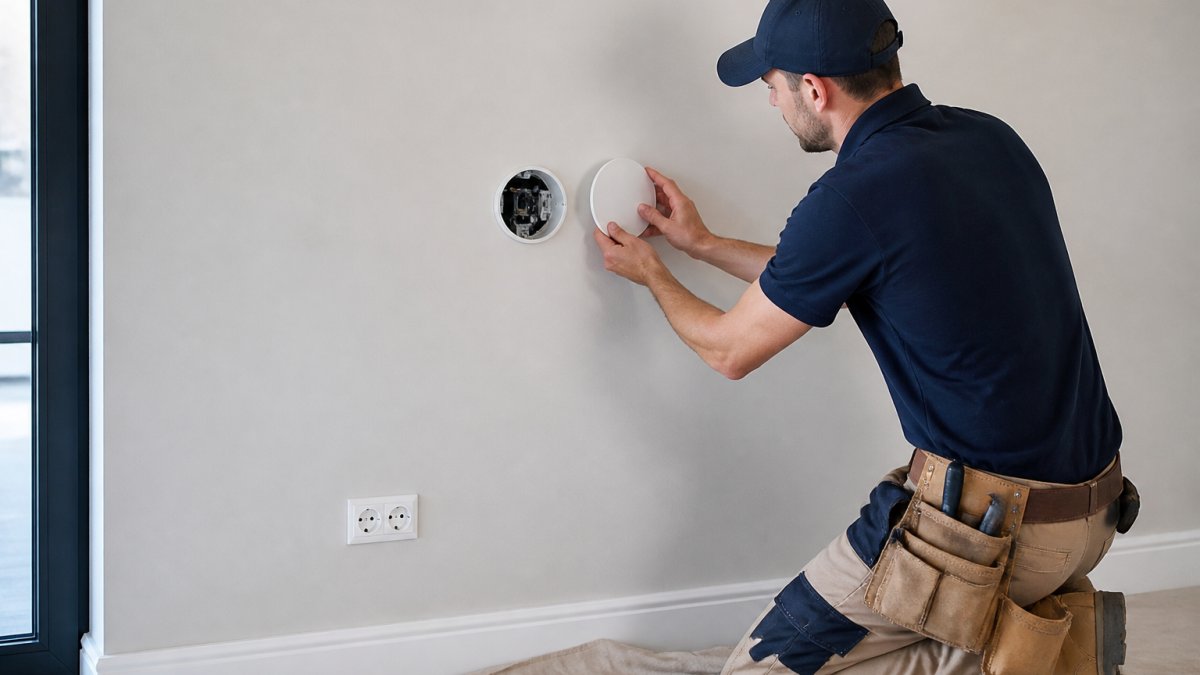
Table of Contents
- Why Avoiding Wall Damage During Home Upgrades Matters
- Protecting Walls During Renovation: Essential Preparation
- Protecting Plaster Walls During Renovation: Specialised Techniques
- Installing Lighting Without Rewiring: A Damage-Free Approach
- Step-by-Step Protection During Installation Work
- Repairing Minor Wall Damage After Renovation
- Common Mistakes to Avoid
- Frequently Asked Questions
Last Updated: October 16, 2026
Why Avoiding Wall Damage During Home Upgrades Matters
Avoiding wall damage during home upgrades is critical because repairs cost money and delay projects. A single hole or dent can require patching, sanding, and repainting an entire wall. For renovations, this adds weeks to timelines and significant costs to budgets.
The real challenge emerges when you’re installing new systems, lighting, switches, or smart home controls. Traditional methods mean cutting into walls, running cables through plaster, and creating damage that needs professional repair. At Gem Wireless, we understand the challenges projects face where teams might spend more on wall repairs than they save on labour.
The good news? Most wall damage is preventable with proper planning and the right approach. This guide shows you how to protect your walls and maintain your property’s integrity throughout upgrades.
Protecting Walls During Renovation: Essential Preparation
Preparation is where avoiding wall damage during home upgrades actually begins. You can’t protect what you haven’t planned for. Start by identifying which walls are vulnerable and which work routes will carry the most traffic and equipment.
Cover and Shield Vulnerable Surfaces
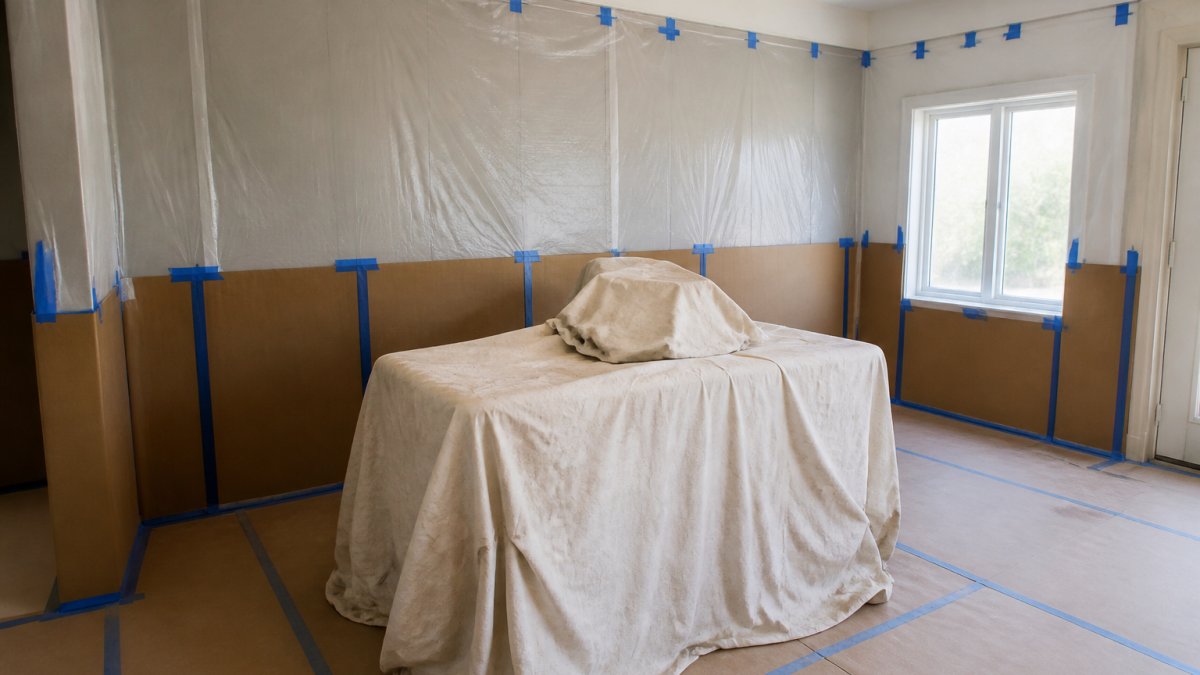
Physical barriers stop damage before it happens. Use heavy-duty plastic sheeting to cover walls in work areas. Tape it securely at the top and sides so it won’t shift during work. For high-traffic zones, add cardboard or plywood sheets over the plastic, this gives extra protection against impacts from tools and equipment.
Protect corners and edges with foam corner guards or pipe insulation. These absorb impacts that would otherwise dent plaster or plasterboard. Door frames and window trim need the same treatment. Use painter’s tape as a final layer to hold everything in place.
For walls near doorways, extend protection 1 metre beyond the opening in both directions. This is where most accidental damage occurs.
Plan Your Work Routes and Storage
Map out exactly where materials, tools, and equipment will move through the space. Avoid routing heavy items directly along walls. Create a central staging area away from finished surfaces.
Stack materials on protective flooring, plywood or heavy cardboard, not directly on walls. Keep tool bags and equipment cases at least half a metre from any wall surface. This simple spacing prevents accidental bumps that damage plaster or plasterboard.
Assign specific storage zones for different work phases. As one phase finishes, remove materials before the next phase begins. Clutter creates damage risk.
Protecting Plaster Walls During Renovation: Specialised Techniques
Plaster is more fragile than modern plasterboard. It cracks, chips, and crumbles under pressure. Protecting plaster walls during renovation requires extra care and specific reinforcement methods.
Assess Your Plaster Before Work Begins
Inspect your walls carefully before any work starts. Look for existing cracks, soft spots, or areas where plaster has already separated from the underlying structure. Document these with photos, this protects you if damage is mistaken for pre-existing issues later.
Test the plaster’s condition by gently tapping with a small hammer. Solid plaster sounds firm. Hollow areas sound dull and indicate separation. Mark these zones so your team knows to avoid them.
Check for moisture damage. Damp plaster crumbles easily. If you find wet spots, address the moisture source before starting work. Protecting plaster walls during renovation is impossible if the base is already compromised.
Use Protective Barriers and Reinforcement
For plaster, use thicker protection than you would for plasterboard. Layer plastic sheeting with at least 12mm plywood or hardboard. The plywood distributes impact force across a wider area, preventing point-load damage. Securing these protective layers firmly against the wall base remains equally vital for preventing skirting board damage while you navigate the complexities of room renovation.
Seal gaps between protective layers with tape. This prevents dust and debris from getting behind the barriers and causing hidden damage. Pay special attention to seams and corners.
For walls with ornate plaster details or mouldings, wrap individual elements with foam padding before applying sheeting. This prevents chipping of decorative edges.
Installing Lighting Without Rewiring: A Damage-Free Approach
Traditional lighting installation means cutting into walls and running cables through plaster. This creates damage that’s expensive to repair. Installing lighting without rewiring eliminates this problem entirely.
Why Traditional Rewiring Damages Walls
Running new wiring requires cutting channels (called chases) into plaster or plasterboard. These channels weaken the wall structure and leave visible scars even after repair. The cutting process also creates dust that spreads throughout the property.
Once cables are installed, walls need patching, sanding, and repainting. For plaster walls, this repair work often shows as visible lines where the patch meets original plaster. The aesthetic impact can be significant.
Worse, traditional rewiring is permanent. If you later want to relocate a switch or light, you’re cutting new channels and creating new damage.
Wireless Solutions That Preserve Your Walls
Wireless lighting control systems eliminate wall damage entirely. They use battery-powered switches and wireless modules that communicate with existing lights. No cutting. No cables. No plaster dust.
These systems work with any existing light fixture. You install a wireless module at the light source and pair it with wireless switches at convenient locations. The switches communicate via radio signals, not hardwired connections.
Installation takes hours instead of days. There’s no wall damage, no repair costs, and no aesthetic issues. If you want to move a switch location later, you simply move the wireless switch, no new cutting required.
Gem Wireless specialises in exactly this approach. Their wireless switch module kits integrate seamlessly with existing systems, letting you add smart lighting control without touching your walls.
Step-by-Step Protection During Installation Work
A systematic approach prevents most wall damage. Follow these steps for every installation project.
Step 1: Assess and Document Existing Conditions
Walk through the space with a camera and notebook. Photograph all walls, particularly areas where work will occur. Document existing damage, cracks, or stains. This baseline protects you later if questions arise about what damage occurred during work.
Measure the space and mark out work zones. Identify which walls are load-bearing (these need extra protection). Note the location of electrical outlets, switches, and any existing cables or pipes in walls.
Step 2: Install Protective Coverings
Apply plastic sheeting first, securing it with painter’s tape. Overlap seams by at least 15cm. For high-traffic areas, add cardboard or plywood over the plastic.
Install corner guards and edge protection. Use foam padding for ornate areas. Extend protection beyond the immediate work zone, damage often occurs in adjacent areas you didn’t expect.
Step 3: Secure Tools and Materials Safely
Establish a tool storage system that keeps equipment away from walls. Use wall-mounted racks or central staging areas. Never lean tools against walls or prop equipment against surfaces.
Stack materials on protective flooring. Keep heavy items at least half a metre from any wall. Arrange storage so materials can be removed without dragging them across protected surfaces.
Step 4: Execute Installation Work Methodically
Work slowly and deliberately. Rushing causes bumps and collisions. Use proper techniques for your specific installation. For lighting work, consider wireless solutions like Gem Wireless modules, which can help eliminate the wall cutting that causes most damage.
Inspect protected areas regularly. If coverings shift or tear, repair them immediately. After each work phase, remove materials and inspect walls before proceeding to the next phase.
Repairing Minor Wall Damage After Renovation
Despite best efforts, minor damage sometimes occurs. Addressing it quickly prevents larger problems.
Identify and Assess Damage Types
Small dents in drywall are cosmetic only. Cracks in plaster are more serious, they indicate stress or movement. Holes require patching. Gouges need filling.
For plaster, tap around damaged areas with a small hammer. If the plaster sounds hollow or crumbles, the damage extends deeper than visible. For drywall, check if the damage has penetrated the paper facing.
Repair Techniques for Common Issues
Plasterboard dents: Use lightweight interior filler. Apply with a putty knife, let dry, sand smooth, and repaint.
Plaster cracks: For small cracks (under 3mm), use flexible caulk. For larger cracks, use plaster repair compound. Apply in thin layers, letting each dry before adding the next.
Holes in drywall: Holes under 50mm can be patched with filler. Larger holes need a patch kit. Holes over 150mm require cutting out a section and installing a new piece of drywall.
Plaster gouges: Use plaster repair compound applied with a putty knife. Feather the edges so the repair blends with surrounding plaster.
Common Mistakes to Avoid
Many teams create unnecessary damage through simple oversights. Here are the most frequent errors:
Skipping the baseline assessment. You can’t prove damage wasn’t pre-existing if you didn’t document the walls before work started.
Inadequate protection in high-traffic areas. Most damage occurs in doorways and along main work routes. These areas need thicker, more strong protection than other zones.
Storing materials against walls. Leaning materials against walls, even briefly, causes damage. Use central staging areas instead.
Rushing installation work. Hurried work leads to impacts and mistakes. Build extra time into project schedules.
Using traditional rewiring for lighting upgrades. Cutting into walls creates damage that can be costly to repair. Avoiding wall damage during home upgrades means reconsidering methods that inherently damage walls.
Ignoring plaster-specific needs. Plaster requires different protection than drywall. Standard protection isn’t enough.
Protecting your property during upgrades isn’t complicated, it requires planning, proper materials, and the right installation approach. By using protective barriers, planning work routes carefully, and choosing damage-free installation methods, you can complete renovations without the expense and hassle of wall repairs.
For lighting upgrades specifically, wireless solutions like those from Gem Wireless can help eliminate the wall cutting that causes most damage. Their plug-and-play modules integrate with existing systems, giving you smart lighting control without touching your walls. Get in touch today to explore how wireless installation can protect your property while delivering the control you need.
Frequently Asked Questions
What should I cover walls with before starting an upgrade?
Use heavy-duty plastic sheeting (minimum 0.1 mm thickness) secured with low-tack painter’s tape for general protection. For high-traffic areas, add cardboard or hardboard panels to shield against impact damage. Plaster walls benefit from an additional layer of cloth-backed tape over seams. Ensure coverings extend at least 300 mm beyond the work zone and overlap properly to prevent gaps where dust and debris can penetrate.
Can I install lighting without cutting into walls?
Yes. Wireless lighting solutions eliminate the need for in-wall rewiring entirely. These systems use plug-and-play modules that work with your existing electrical infrastructure, avoiding the wall damage caused by chasing (cutting channels) for cables. Installation typically involves surface-mounted components or integration with existing switch plates, preserving wall integrity whilst delivering full smart lighting control and automation.
How do I repair minor wall damage after renovation?
For small holes and dents, use spackle or joint compound on plasterboard, applying with a putty knife and sanding smooth once dry. Plaster walls require plaster repair compound, applied in thin layers and feathered at edges. Paint over repairs after sanding. For larger gouges or cracks, consider a two-coat approach: fill with compound, sand, then apply a finishing coat. Test paint colour match before final application, as repairs may require touch-ups.
How can I protect plaster walls specifically during renovation work?
Plaster is more fragile than plasterboard and requires extra care. Reinforce high-impact zones with hardboard or plywood sheeting secured with temporary fixings. Use cloth-backed tape over vulnerable corners and edges. Avoid drilling or cutting unless absolutely necessary; if you must, use a pilot hole first and work slowly with appropriate tools. Consider temporary protective frames around doorways and corners where equipment and materials regularly pass through.
avoiding wall damageavoiding wall damage during home upgradesinstalling lighting without rewiringprotecting plaster walls during renovationprotecting walls during renovation