- Empty cart.
- Continue Shopping
Equestrian Arena Lighting Control for Clear, Even Light
- Posted on
 Strong Digital
- 0
- Categories: Uncategorized
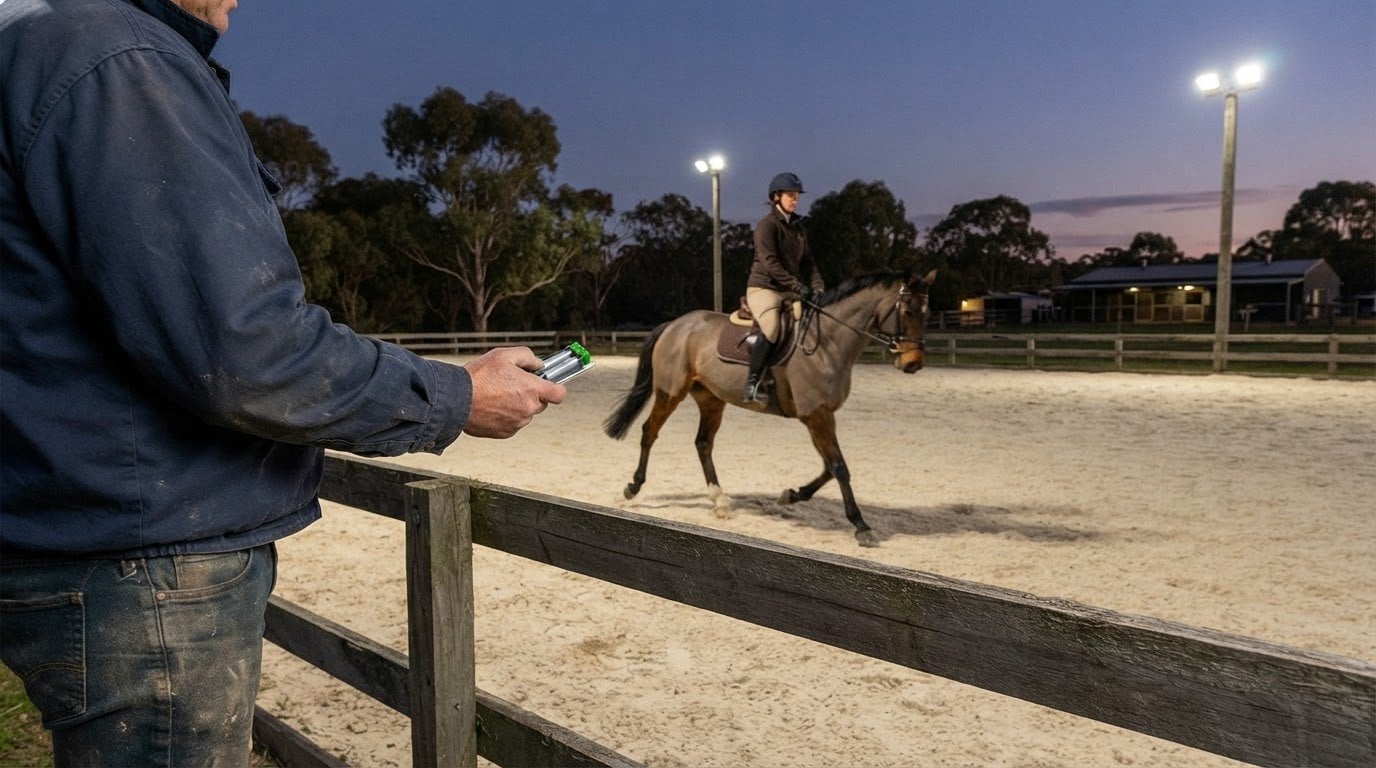
Clear arena lighting starts with the right light level for the activity: outdoor recreational riding is recommended at 100 lux, while professional outdoor arenas are recommended at 500 lux. Good equestrian arena lighting control then lets you manage how and when that light is used, with a power source that suits the site.
Even light matters as much as brightness. Dark patches, glare and poor colour rendering can make it harder to see the arena clearly, so the layout, fittings and controls need to work together. Solar power may suit some locations, while mains power may better match other sites and riding schedules.
This guide explains how to choose for uniformity, colour rendering, glare, beam angles, mounting height and pole spacing. You’ll also learn how to compare solar and mains-powered setups, and how wireless switching can simplify everyday lighting control without rewiring existing switches and lights.
Key Takeaways
- Match the light level to the arena’s use: outdoor recreational riding is recommended at 100 lux, while professional outdoor arenas are recommended at 500 lux.
- Assess uniformity, colour rendering and glare together so riders can see the arena clearly without harsh bright spots.
- Choose beam angles, mounting height and pole spacing as a coordinated layout to spread light evenly across the riding surface.
- Compare solar and mains power against the site and riding schedule, then consider wireless switching to make lighting easier to manage.
What are the lighting recommendations in an equestrian centre?
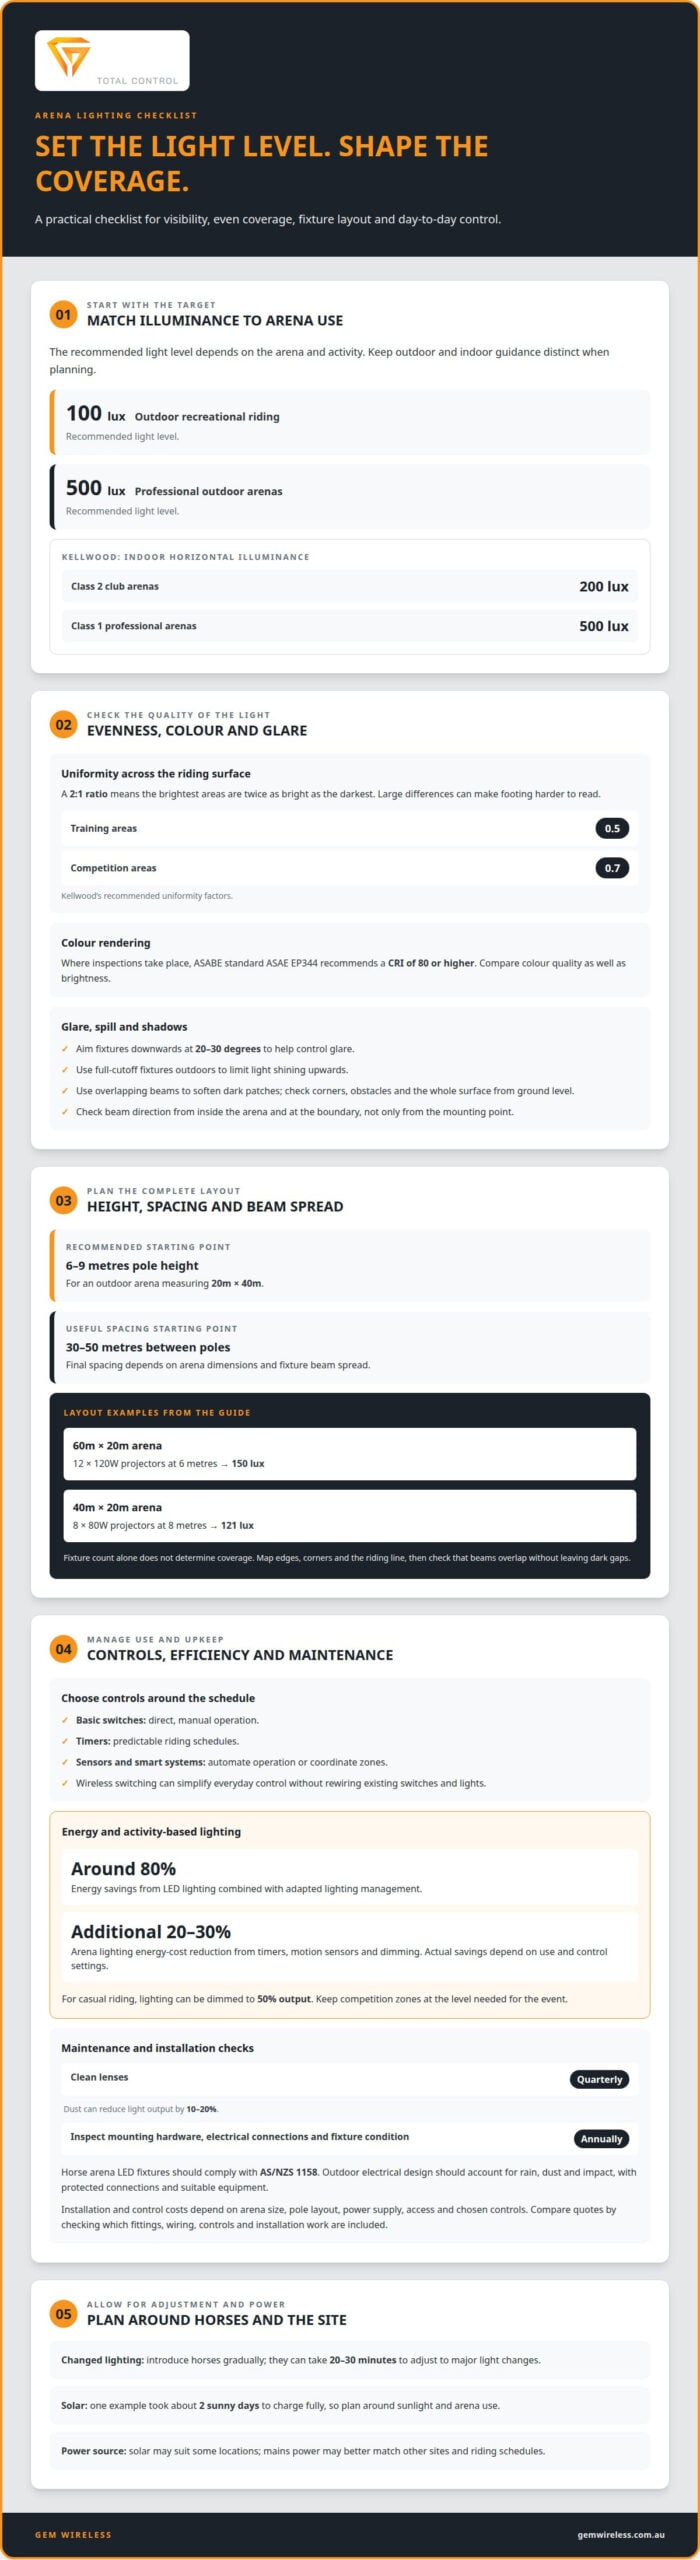
Choose lighting levels for the arena’s use, then plan for even coverage across the riding surface. Outdoor recreational riding is recommended at 100 lux; professional outdoor arenas are recommended at 500 lux.
Visibility and horse comfort
Riders need to see footing, obstacles and other horses clearly, while spectators need a view without harsh glare. Uneven light creates bright and dark patches that can make transitions harder to judge. Aim for consistent coverage, and introduce horses to changed lighting gradually: they can take 20 to 30 minutes to adjust to major light changes. One solar lighting example took about 2 sunny days to charge fully, so plan around sunlight and the arena’s use.
Choosing lighting controls
Basic switches suit direct, manual operation; timers suit predictable riding schedules. Sensors and smart systems can automate operation or coordinate zones, but choose them around how the arena is used. For maintenance, clean lenses quarterly: dust can reduce light output by 10-20%. Annual inspections of mounting hardware, electrical connections and fixture condition help identify issues before they affect arena lighting.
Energy savings and activity-based lighting
LED lighting combined with adapted lighting management can save around 80% of energy. Timers, motion sensors and dimming can reduce arena lighting energy costs by an additional 20-30%; actual savings depend on use and control settings. Divide the arena into practical zones, then set each for the activity. For casual riding, lighting can be dimmed to 50% output; keep competition zones at the level needed for the event.
Australian requirements and installation costs
Australian recommendations state that horse arena LED fixtures should comply with AS/NZS 1158. Outdoor electrical design should account for exposure to rain, dust and impact, with protected connections and suitable equipment. Installation and control costs depend on arena size, pole layout, power supply, access and chosen controls, so the setup determines the total. Compare quotes by checking what fittings, wiring, controls and installation work each includes.
Illuminance uniformity, colour rendering and glare recommendations
Brightness alone won’t deliver clear arena illumination. According to Kellwood, recommended horizontal illuminance ranges from 200 lux for Class 2 club indoor arenas to 500 lux for Class 1 professional arenas. Good equestrian arena lighting control also depends on how fixtures manage glare and spill.
Uniform illumination and natural colour
Uniformity describes how consistently light reaches the riding surface. A 2:1 ratio means the brightest areas are twice as bright as the darkest; large differences can make footing harder to read. Kellwood lists a recommended uniformity factor of 0.5 for training areas and 0.7 for competition areas.
Colour rendering matters too. ASABE standard ASAE EP344 recommends a CRI of 80 or higher where inspections take place. Compare fittings for colour quality as well as brightness, then consider how illumination looks across the arena, not just directly beneath each light. That gives equestrian arena lighting control a practical measure beyond fixture output alone.
Glare and backspill management
Glare can distract riders and reduce visibility for spectators. Aim fixtures downwards at 20-30 degrees to help control it, and use full-cutoff fixtures outdoors to limit light shining upwards. Low-glare optics and careful placement can direct light onto the riding surface rather than towards nearby homes or a rider’s line of sight.
Check beam direction from inside the arena, not only from the mounting point. Aim fixtures to avoid shining directly into eyes while maintaining coverage between them. This balances useful brightness with efficiency and helps manage unwanted backspill. For equestrian arena lighting control, assess the effect from the boundary as well as from the riding surface.
Reducing shadows
Shadows can obscure footing, poles or another horse, especially when light comes from one direction. Use overlapping beams from well-placed fixtures to soften dark patches across the arena. Review the whole surface from ground level, including corners and areas beside obstacles, rather than judging illumination beneath a single fitting.
In indoor stables or paddocks, zenithal lighting uses the roof to help reduce shadows. Outdoors, inspect fixture alignment and mounting, then look for corrosion that could affect fittings over time. Once the layout is set, wireless controls can make the lighting easier to operate.
Beam angles, mounting height and pole spacing
For a riding arena, choose fixture height, beam spread and pole spacing as one lighting design. Aim lights downwards at 20-30 degrees to help limit glare and shadows for horses and riders.
Mounting height and pole coverage
An outdoor arena pole height of 6 to 9 metres is recommended for a 20m x 40m arena. Pole spacing of 30-50 metres is another useful starting point, but the final layout depends on arena dimensions and fixture beam spread. Match spacing to the ground area each fitting must cover, not just the number of poles available.
Compare layouts using the target lux levels and the mounting height together. For a 60 x 20 metre arena, one example uses 12 120W projectors at 6 metres, producing 150 lux. A 40 x 20 metre example uses eight 80W projectors at 8 metres, producing 121 lux. These examples show why fixture count alone doesn’t determine coverage.
Before fixing pole positions, map the arena edges, corners and riding line. Check that beams reach the full ground area and overlap without leaving dark gaps. Changes in pole height or spacing alter where beams land, so assess the complete layout rather than choosing each fixture independently.
Positioning lights to limit glare and shadows
To minimise glare, aim each fixture downwards and away from riders’ direct sightlines. The recommended 20-30-degree downward angle gives a practical starting point; adjust the beam to cover the riding surface without directing light into approaching horses’ eyes.
Use fixtures around the arena to spread illumination from more than one direction. This helps soften shadows cast by horses, riders and obstacles. Review the layout from ground level, then check the centre, corners and perimeter for gaps. Beam angles should suit pole height and spacing: wider beams may cover more ground, while narrower beams concentrate light.
After positioning the fixtures, assess coverage across the full riding arena at the intended light levels. A design that balances height, spacing and beam direction can reduce harsh contrasts while keeping light on the usable surface.
Solar and mains-powered arena lighting
For an Australian horse arena, choose solar or mains power according to the site and riding schedule. Solar flood lighting can suit a location where grid access is difficult, while mains power connects the lighting system to an existing electrical supply. The choice affects when lights are available for training, not the lux level needed for visibility.
Solar performance depends on sunlight reaching the panels and stored energy being available when the arena needs illumination. A setup described for arena use took about 2 sunny days to charge fully. That example highlights a practical planning step: consider local shade, panel placement and how often evening riding takes place. If the arena is indoors or used after overcast days, assess how the solar system’s charging and storage arrangement matches that schedule.
Mains power offers a direct supply for planned riding sessions, including regular evening training. It can suit arenas where reliable access to the electrical supply is available, but the layout still needs appropriate switching and lighting zones. For example, a stable or access area can have a separate control from the main riding surface, so unused lights needn’t run during a session. Explore mains-powered switches for switching systems that suit an existing setup.
Compare both options against the same requirements: arena size, target illumination, operating hours and desired control. For solar flood lighting, consider panel exposure and when you plan to use the lights. For mains power, assess supply access and the intended switching arrangement. Either way, map the riding area and check for shadows, dark edges and visibility from the ground before finalising the design.
Choose solar when the location and charging conditions suit the expected use. Choose mains power when supply access and scheduled operation better fit the arena. For a venue with both indoor and outdoor riding areas, assess each separately: the most suitable power source and control pattern may differ between spaces.
Gem Wireless: Switch Module Kits
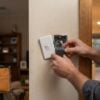
Gem Wireless Switch Module Kits offer wireless control for arena lighting. They work with existing switches and lights without rewiring, making them useful when you want to simplify day-to-day switching without changing the lighting layout.
For mains-powered systems, Gem Wireless Mains Powered Switches and Switching Modules provide options for controlling lights. Long Range Switches can suit layouts where controls need to operate across a wider site. Choose based on your existing switches and lights, and how you use the arena, such as keeping regular riding lights separate from other lighting.
Explore Gem Wireless switching options to make arena lighting easier to manage. Visit gemwireless.com.au to learn more and choose a wireless control solution.
Make your next lighting decision a practical one
Before changing your setup, map how the arena is used across a typical week. Note which lights need to operate together, where manual switching causes friction, and whether controls need to work across the site. This gives you a clearer basis for choosing equestrian arena lighting control that fits everyday routines without adding complexity you won’t use.
Gem Wireless offers Switch Module Kits, Mains Powered Switches and Long Range Switches for wireless lighting and switching control. The right option depends on your existing switches and lights, and how you want to manage them. Keep the goal simple: make arena lighting easier to operate while preserving the layout that suits your horses and riders.
Ready to consider a suitable switching option for your arena? Contact Gem Wireless about arena lighting and take the next step towards a more straightforward setup.
Frequently Asked Questions
What light levels are recommended for equestrian arena lighting in Australia?
Recommended levels depend on the arena’s setting and use. Outdoor recreational riding is recommended at 100 lux, while professional outdoor arenas are recommended at 500 lux. These targets help shape equestrian arena lighting control by defining the illumination required for the riding surface. Indoor targets differ by activity, so identify whether the venue is used for casual riding, training or events before setting the lighting plan.
How many lux are needed for recreational riding, training and competition arenas?
Outdoor training recommendations vary by discipline and competition context. For Class 3 recreational indoor riding arenas, Kellwood lists recommended horizontal illuminance of 200 lux. Intermediate outdoor dressage is listed at 200 lux, while top-level outdoor dressage is 500 lux. Use the target for the discipline and event level to guide lighting zones and operating settings.
How can lighting be controlled to reduce spill light and complaints from neighbours?
Control spill by illuminating only the areas and times required. For example, switch arena zones separately and use a timer to turn lights off after scheduled riding. Effective equestrian arena lighting control works alongside well-aimed, full-cutoff outdoor fixtures, which direct light down rather than towards nearby properties. Review the effect from the arena boundary and adjust fixture direction to reduce unwanted spill.
What does equestrian arena lighting cost in Australia, including installation and controls?
Costs depend on arena size, pole layout, power supply, site access and chosen controls. When comparing quotes, check which fittings, wiring, controls and installation work each includes.
arena lightingequestrian lightingglare controllighting controllighting designriding arenassolar lightingwireless switching