- Empty cart.
- Continue Shopping
Adding a Light Switch to a Brick Wall: Mess-Free Guide
- Posted on
 Strong Digital
- 0
- Categories: Uncategorized
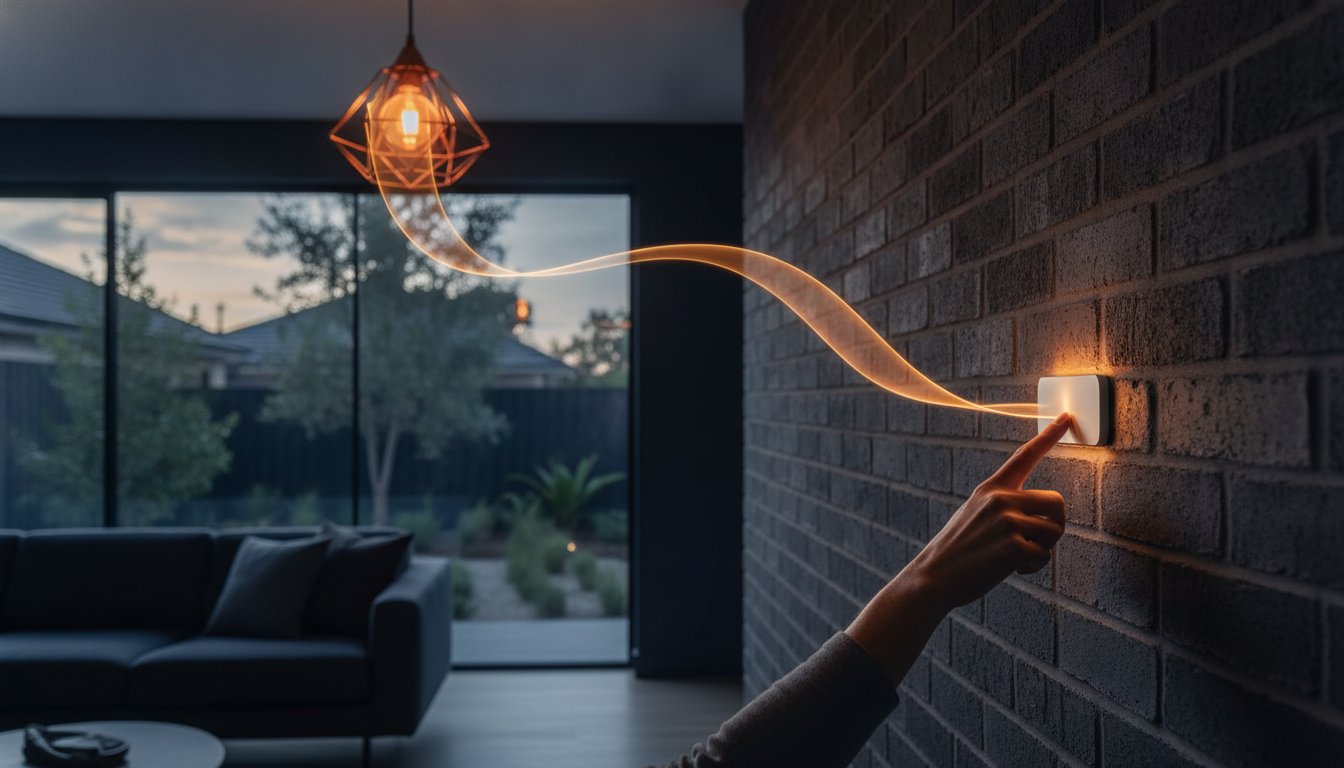
What if you could add a light switch to a brick wall without ever picking up a masonry saw or creating a cloud of red dust? For most Australians living in solid brick or heritage homes, the idea of new lighting usually brings to mind expensive labour and a layer of grit over every surface. You probably already know that traditional chasing is a slow, structural nightmare that often requires replastering and repainting just to move a single button.
It doesn’t have to be that way. You can achieve a professional, clean finish without the traditional demolition. This guide reveals how to use wireless switching modules to get the job done faster and more affordably. We will walk you through the process of modernising your home, from choosing the right kit to ensuring your installation meets Australian safety standards. You will discover how a licensed electrician can install a discreet receiver in minutes, leaving you free to place your new switch anywhere you like. We’ll show you how to skip the mess and get straight to the results.
Key Takeaways
- Avoid the mess and expense of chasing masonry. Learn how to bypass the structural risks and dust associated with traditional wiring methods in solid brick homes.
- Discover the most efficient way to add light switch to brick wall areas using wireless kits that require zero structural repairs or replastering.
- Understand how switching modules act as the invisible hero behind the scenes, connecting your wall switch to the ceiling without physical cables.
- Ensure your project remains compliant with Australian safety standards by involving a licensed electrician for the essential receiver installation.
- Identify why long-range modules are the superior choice for thick Australian masonry compared to standard smart bulbs or temporary fixes.
The Challenge of Adding Switches to Australian Brick Walls
Australian homes are built to last. Whether it’s a 1920s bungalow or a modern double-brick build, masonry provides incredible durability and thermal mass. However, this same strength becomes a major roadblock when you want to add light switch to brick wall areas. Unlike timber-framed walls where wires can be fished through a cavity, solid brick offers no path for new cables. There is no “behind the wall” in a solid masonry structure; there is only the brick itself.
Cutting into these walls carries genuine risk. Traditional wiring requires “chasing,” which involves cutting deep vertical channels into the masonry. If your home features load-bearing face brick or heritage stone, removing material can compromise structural integrity. This process often leads to “renovation creep.” What starts as a simple switch installation quickly turns into a multi-day project involving plasterers, sanders, and painters to fix the damage. It’s a heavy-handed solution for a modern lighting need.
Why Solid Brick is a “Dusty Nightmare”
Chasing creates a massive amount of silica dust. This fine powder penetrates every gap, settling on furniture and carpets throughout the home. Even with industrial vacuums, the cleanup is intensive. Vibration from heavy masonry tools can also cause old render or delicate plaster to crack far away from the actual cut. Matching the existing paint or aged wallpaper after these repairs is notoriously difficult. You’ll often find yourself forced to repaint the entire room just to hide a single wire path.
Surface Mounting vs. Chasing
To avoid the cost and mess, many homeowners settle for surface-mounted solutions. This involves running plastic conduit along the outside of the brick. While functional, it’s a significant visual compromise on a feature wall. Before you decide to add light switch to brick wall surfaces, it’s vital to identify your wall type. Brick veneer homes have a timber frame behind the brick, which allows for easier wiring. Solid or double-brick walls, common in older Australian suburbs, are the real challenge. Wireless switching modules offer a modern way to bypass these physical barriers entirely, keeping your walls intact and your home dust-free.
The Traditional Method: Chasing and Rewiring
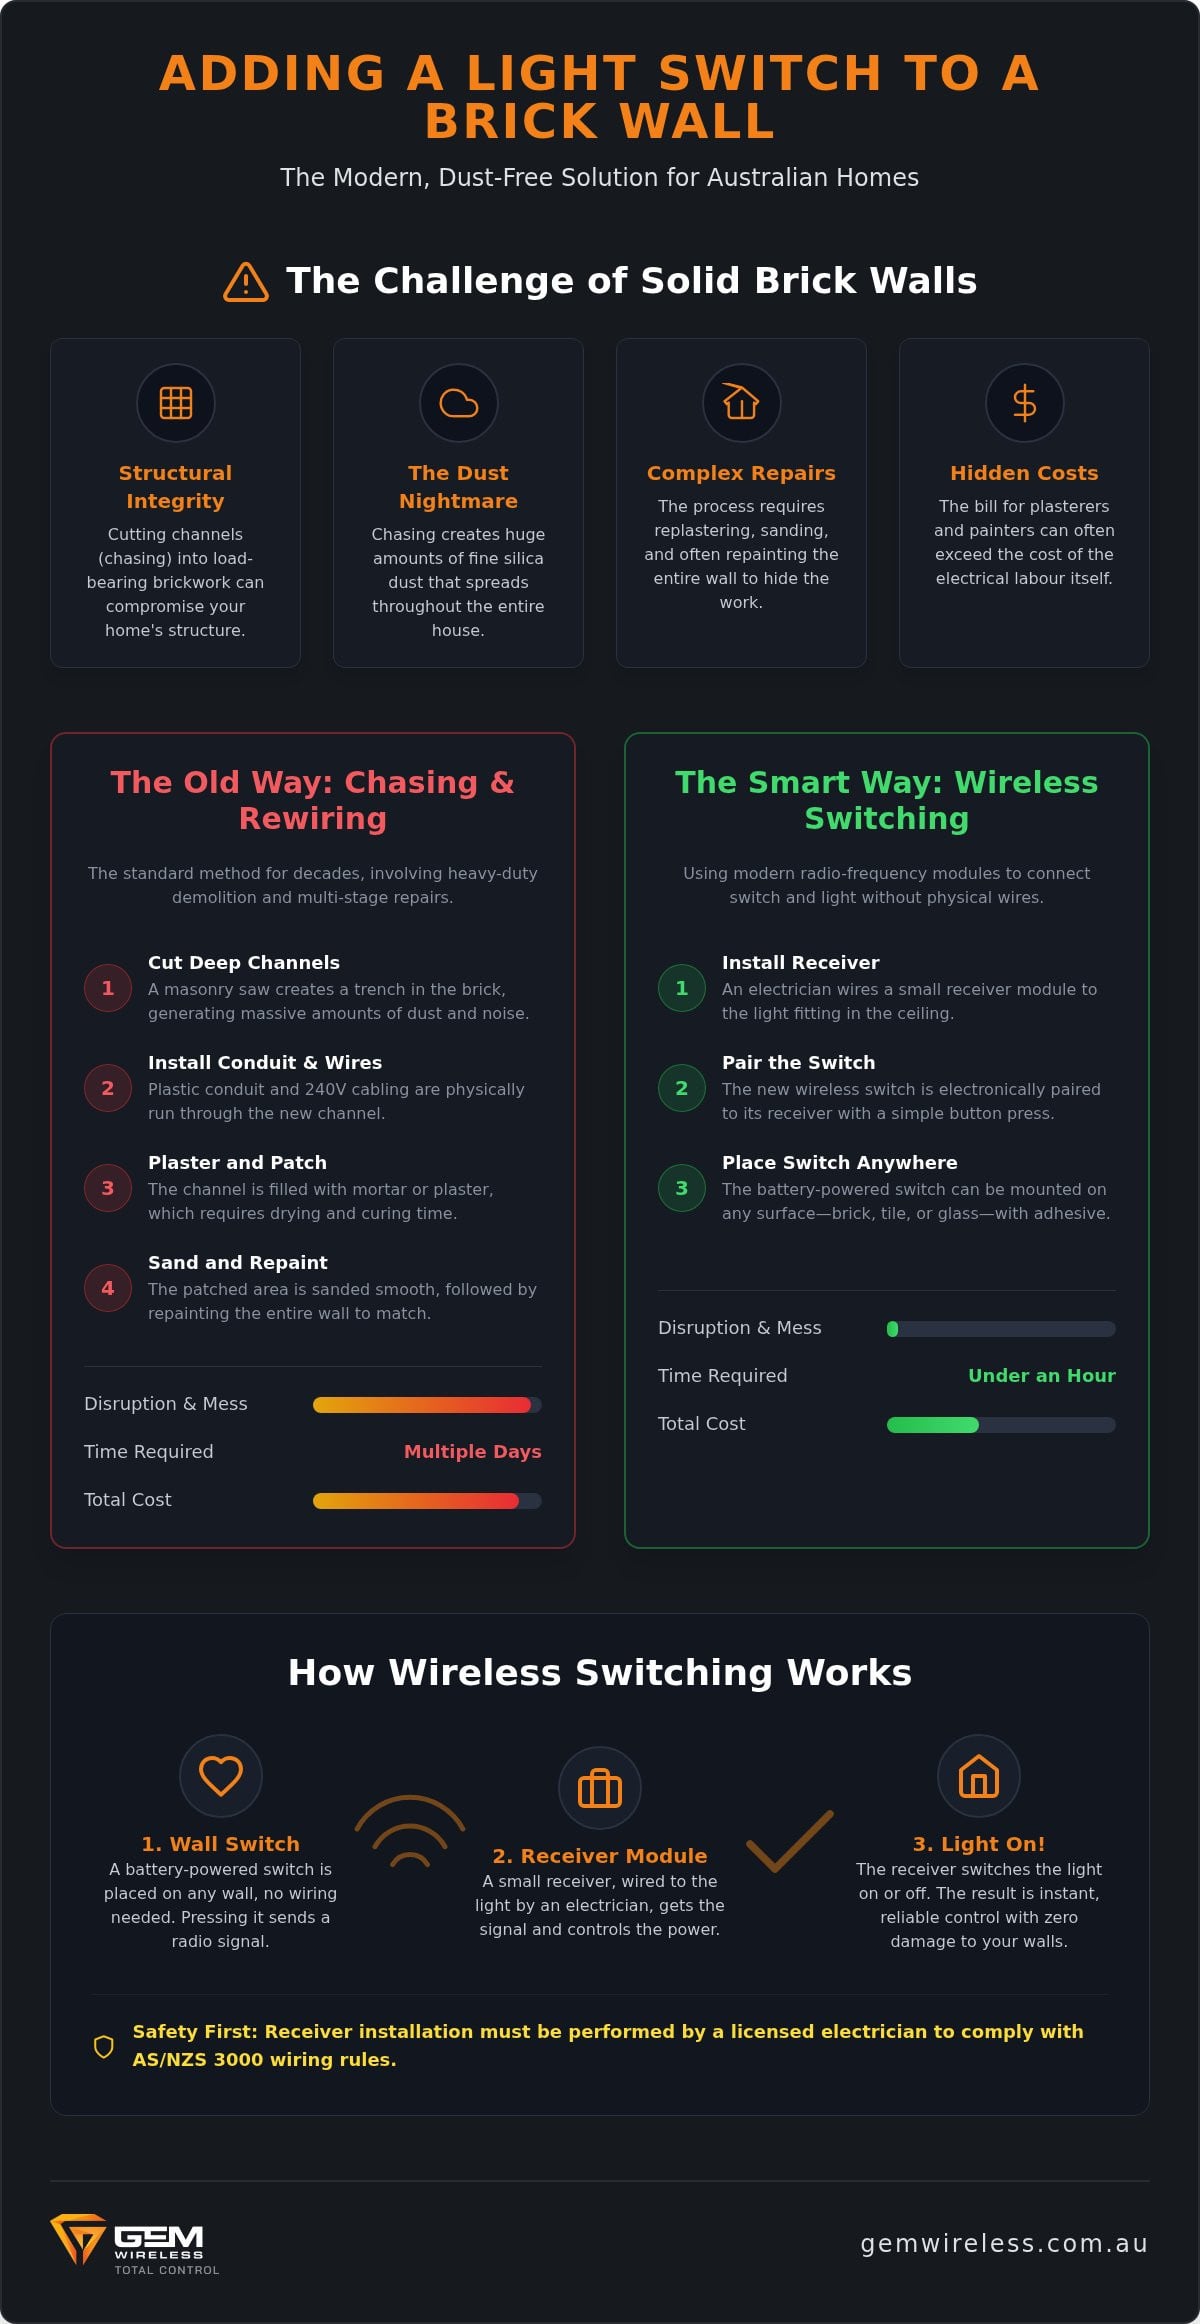
For decades, the standard way to add light switch to brick wall locations involved heavy-duty demolition. Chasing is the process of cutting a recessed channel into masonry to house electrical conduit. This method requires specialized machinery, including a dual-blade wall chaser with diamond tips to slice through the brick. To manage the massive amount of silica dust generated, these saws must be connected to high-grade vacuum extraction systems. Once the parallel lines are cut, a sparky uses a bolster chisel or an SDS drill to remove the centre material, creating a physical trench for the cabling.
While the actual wiring might take an hour, the structural repair makes this a multi-day ordeal. After the conduit is secured, the channel must be filled with a base-coat plaster or mortar. This needs time to cure before a fine finish can be applied. In most Australian homes, you’ll then need to sand and repaint the entire wall to ensure the patch doesn’t stand out. If you want to avoid this disruption, looking into modern switching modules can save you from the “patch and paint” trap entirely.
The Labour-Intensive Reality
Many homeowners underestimate the man-hours involved in traditional chasing. Electricians often find old, hard-fired bricks particularly difficult to work with; they can burn through expensive blades and take twice as long to chisel out. This labour cost adds up quickly. Even a short two-metre run can require a full day of site prep, cutting, and initial patching. The reality is that the “hidden costs” of hiring a plasterer and buying matching paint often exceed the electrical bill itself. It is a messy, invasive process that rarely looks perfect without a professional decorator’s touch.
Compliance and Safety Concerns
All fixed 240V wiring in Australia must be performed by a licensed electrician to remain compliant with the AS/NZS 3000 Wiring Rules. These standards dictate specific depths for cables embedded in masonry to prevent future accidents. There is also a significant risk of hitting existing services. In older double-brick homes, plumbing or older electrical lines might be hidden just beneath the surface. Accidental damage to these can turn a simple lighting upgrade into an emergency repair job. Choosing to add light switch to brick wall zones using wireless technology removes these structural risks while keeping your project fully compliant with Australian safety standards.
The Modern Alternative: Wireless Switching Modules
While traditional chasing is a structural nightmare, modern technology offers a cleaner path. You can now add light switch to brick wall locations without a single hammer blow or a cloud of red dust. The switching module acts as the invisible hero behind the scenes. It lives inside the light fitting or a ceiling rose, where power is already present. This setup completely eliminates the physical connection between the wall switch and the ceiling. By removing the need for a copper wire run, you effectively remove the need for a trench in your wall.
For heritage-listed Australian homes, this is often the only viable choice. Preserving original face brick or lath-and-plaster is critical for maintaining the property’s value and character. Wireless modules allow you to add light switch to brick wall areas without risking structural damage or needing a permit for invasive alterations. Modern long-range signals are specifically designed for dense masonry. While older wireless tech might have struggled with double-brick, today’s Switching Modules punch through solid walls with ease, providing the same reliability as a hardwired connection.
Traditional Chasing vs. Wireless Retrofit
Comparing these two methods reveals a massive gap in both mess and budget. On a scale of mess, traditional chasing is a 10/10, requiring industrial vacuums and full room covers. A wireless retrofit is a 0/10. Because you skip the cutting, curing, patching, and painting, a wireless installation can save up to 70% on labour time. This efficiency makes it a favourite for quick renovations. You also gain incredible flexibility. If you change your room layout or move a bookshelf, you can unstick the switch and move it in seconds without further drilling.
How Wireless Modules Work
The system relies on a simple relationship between a “Sender” and a “Receiver.” The receiver is a small module that a licensed electrician installs at the light fitting. The sender is the wall switch itself. You can choose between different hardware options to suit your home:
- Battery-Powered Switches: These use long-life lithium batteries and can be mounted anywhere with high-strength adhesive.
- Mains-Powered Switches: These replace an existing switch to control additional lights wirelessly.
- Kinetic Switches: These innovative options harvest energy from the physical click of the button, requiring no batteries at all.
These systems are designed to be compatible with existing Australian switch plates. This means your new wireless switch will match the colour and style of the other fittings in your home. It’s a seamless integration that looks professional while avoiding the “renovation creep” of traditional methods.
Step-by-Step: Installing a Switch on Brick Using Wireless Kits
Once you decide to add light switch to brick wall locations without the mess, the installation becomes a task of minutes. You aren’t restricted by the location of existing studs or internal cavities. This “Plug & Play” nature allows you to place the switch exactly where it’s needed, whether that’s right next to the bed or at the entrance of a newly renovated room. You have two main ways to secure the hardware:
- The No-Drill Option: High-strength adhesive pads allow you to bond the switch plate directly to the brick. This is the cleanest method for face brick and requires no tools at all.
- The Low-Impact Option: Use 5mm wall plugs for a permanent mechanical fix. This requires only two small holes, which is far less invasive than a traditional electrical wall box.
Preparing the Brick Surface
Masonry is naturally porous and often carries a layer of fine dust. Before applying any adhesive, clean the area thoroughly with sugar soap or isopropyl alcohol. This ensures a strong, long-lasting bond. If you choose to drill, aim for the mortar joints rather than the brick face. Mortar is much simpler to patch if you ever decide to move the switch later. When working with bagged or uneven brick, use a spirit level. You might need small spacers behind the plate to ensure it sits flush and doesn’t rock on the bumpy surface.
Finalising the Setup
The final step involves pairing the hardware. While the switch is wireless, the receiver module must be installed by a licensed electrician at the light source. This ensures your home remains compliant with Australian safety standards. After the module is in place, pairing usually involves a simple button-press sequence to sync the components. You can even set up 2-way or 3-way control by pairing multiple switches to one module. This allows you to control a single light from different points without running extra cables. To find the right hardware for your home, check out our Switch Module Kits.
Testing the signal strength is the final box to tick. Modern long-range modules are designed to penetrate thick Australian masonry, but it’s always good practice to test the “click” before finalising the position. It’s a fast, reliable, and professional way to add light switch to brick wall zones in any home.
Choosing the Right Hardware for Your Australian Home
Selecting the right hardware is the difference between a temporary fix and a permanent upgrade. Many homeowners initially try smart bulbs as a shortcut. While these seem easy, they create a frustrating user experience. If someone flips the physical wall switch, the smart bulb loses power and becomes unresponsive. When you add light switch to brick wall locations, you need a solution that feels integrated and reliable. Professional switching modules outperform consumer-grade gadgets by maintaining a constant connection to your lighting circuit.
In Australian homes, the density of the wall is your biggest hurdle. Standard wireless signals often struggle to penetrate double-brick or reinforced masonry. This leads to lag or intermittent control. Choosing hardware specifically designed for robust building materials ensures your lights respond instantly every time you press the button. It is about choosing a system that respects the architecture of your home while providing 21st-century convenience.
The Gem Wireless Advantage
Gem Wireless is the leading choice for “No-Rewire” retrofits across Australia. Our hardware is engineered to handle the unique challenges of local construction. Our Long Range Switches use a dedicated frequency that punches through thick masonry without interference from Wi-Fi or other household devices. This reliability is paired with a commitment to aesthetics. Our modules are fully compatible with standard Australian wall plates. You won’t have to settle for bulky, mismatched hardware; your new switch will match the colour and profile of your existing fittings for a seamless look.
We’ve designed our systems to be a “Plug & Play” solution for renovators. Whether you are updating a heritage cottage or a modern apartment, our modules provide the invisible heroics needed to modernise your space. For a deeper look at how these systems perform in local conditions, check out our Wireless Light Switch Kit Guide for Australian Homes 2026.
Making the Switch Today
You don’t need to wait for a major renovation to improve your home’s lighting layout. Ordering your kit is the first step toward a more functional living space. Once your hardware arrives, your licensed electrician can complete the receiver installation in a fraction of the time it takes to chase a wall. You gain the peace of mind that comes with a mess-free installation and a professional finish. It is the most cost-effective way to add light switch to brick wall areas without the dusty nightmare of traditional wiring. Ready to upgrade? Browse our Wireless Switch Kits and discover how simple home modernisation can be.
Modernise Your Home Without the Mess
You no longer have to choose between better lighting and keeping your walls intact. Moving beyond traditional chasing means you can add light switch to brick wall surfaces without the stress of structural damage or the cost of replastering. By choosing wireless modules, you opt for a solution that is as sophisticated as it is simple. These systems are compatible with all Australian light fittings and ensure you maintain the character of your home while embracing modern convenience. It is the smartest way to retrofit heritage properties or modern masonry builds alike.
This approach saves hundreds on tradie labour and wall repairs, as it requires no chasing or mess. It is a pragmatic choice for any renovator who values their time and peace of mind. When you are ready to upgrade, you can Simplify your renovation with Gem Wireless Switch Kits. Our technology does the heavy lifting behind the scenes so you don’t have to worry about the technical details. Take control of your home’s lighting today and enjoy a professional, seamless finish that looks exactly like it was always part of the plan.
Frequently Asked Questions
Do I need an electrician to install a wireless light switch on a brick wall?
Yes, you must hire a licensed electrician to perform the fixed wiring components. While the switch itself is a wireless component that you can mount yourself, the receiver module that connects to your lighting circuit must be installed by a professional. This ensures your home remains compliant with Australian safety standards and the Electrical Safety Act. It is the safest way to add light switch to brick wall locations without risking your insurance or safety.
Will a wireless light switch signal work through thick double-brick walls?
Yes, modern wireless signals are specifically engineered to penetrate dense Australian building materials. If you have thick double-brick or masonry walls, using Long Range Switches ensures a reliable connection without lag. These systems operate on frequencies that aren’t crowded by Wi-Fi or other household devices. You won’t experience signal dropouts, even in older homes with extremely robust internal structures that typically block standard consumer electronics or weak smart home gadgets.
Can I use my existing Clipsal or HPM switch plates with a wireless module?
Yes, Gem Wireless modules are designed for seamless integration with the brands you already have. You can use your existing Clipsal, HPM, or other standard Australian switch plates to maintain a consistent aesthetic throughout your home. The module sits behind the plate or in the ceiling rose, acting as the invisible hero. This allows you to upgrade your home’s functionality without having to replace every switch in the house just to match a new fitting.
How long do the batteries last in a wireless light switch?
Battery life typically lasts between three to five years depending on your daily usage. Most wireless switches use standard lithium button cells that are easy to replace when the time comes. Alternatively, you can choose kinetic switching modules. These innovative devices harvest energy from the physical movement of the switch itself, meaning they never require a battery change and offer a truly maintenance-free solution for your masonry walls and high-traffic areas.
What happens if the power goes out? Will my wireless switch still work?
If the mains power goes out, your lights will not work, just like a traditional wired system. The receiver module requires electricity to power the light globe itself. However, Gem Wireless systems are designed with a memory function. When the power is restored, the module returns to its previous state or stays off, depending on your preference, ensuring your home automation remains stable and predictable after a blackout or local grid failure.
Is it cheaper to chase a brick wall or buy a wireless switch kit?
Choosing a wireless solution is almost always more cost-effective than traditional methods. While a wireless kit has an upfront hardware cost, it eliminates the need for wall chasers, vacuum extraction, and structural repairs. When you add light switch to brick wall areas traditionally, you often pay for an electrician, a plasterer, and a painter. Wireless kits bypass these “hidden costs,” saving you significant amounts on labour and expensive material repairs.
Can I add a 2-way switch to a hallway brick wall using this method?
Absolutely, this is one of the most popular uses for wireless kits in Australian homes. You can easily create a 2-way or even a 3-way switching setup by pairing multiple wireless switches to a single receiver module. This is perfect for long hallways or large rooms where you want to control the same light from opposite ends of the space without the nightmare of running new cables through solid internal brick.
Are wireless light switches legal and compliant in Australia?
Yes, wireless light switches are fully legal and compliant in Australia, provided they meet the relevant AS/NZS standards. All hardware sold by Gem Wireless is designed specifically for the local market. The critical legal requirement is that any work involving fixed 240V wiring, such as installing the receiver module into the light fitting, must be completed by a licensed electrician. This keeps your installation professional, safe, and fully covered by your home insurance.
Aussie renovationbrick wallsheritage homeshome electricalhome improvementlighting solutionsmess-free renovationwireless light switch