- Empty cart.
- Continue Shopping

Quick Summary
Smart home wiring for small builders means planning the cable routes, switch positions and controller location before the walls are closed. Mark every point on the floor plan, confirm a neutral wire at each switch, and test every run before first fix is complete.
- Confirm the client’s smart features in writing before any cable is pulled.
- Check that a neutral wire is available at each switch position.
- Photograph cable runs before the walls are closed to aid future work.
- Run spare cable at key points to allow for future changes.
- Plan routes to keep low-voltage and mains cable apart where possible.
Table of Contents
- Why Smart Home Wiring Matters for Small Builders
- Smart Home Pre-Wiring Checklist for New Builds
- Structured Cabling for Smart Homes: What to Run and Where
- Step-by-Step Smart Home Wiring Installation
- Wireless Switch Kits for Builders on Tight Timelines
- Smart Home Wiring Cost Factors and Cost-Saving Tips
- Booking a Wiring Consultation for Your Next Build
- Frequently Asked Questions
Why Smart Home Wiring Matters for Small Builders
Last Updated: 28 October 2026
Smart home wiring is no longer a luxury for large developers. Small builders are now asked to deliver automated lighting and switching as a standard part of a new build. The challenge is that traditional in-wall wiring is slow, costly and hard to change once the walls are closed.
Builders and renovators want the smart features their clients expect, but they cannot afford long install days or costly rework. Smart home wiring for small builders is about getting the right cabling in place, with a plan that fits a tight schedule and a modest budget. Establishing a robust infrastructure during the initial build phase avoids the complexities often encountered when preparing for a rewire in an occupied property.
A missed cable run can add days of labour. A poor layout can mean switches end up in the wrong place. Careful planning at the start can help address these problems.
Here is what matters most for a small builder:
- Plan early. Decide on smart features before the walls are lined.
- Run cable to the right places. Cabling for lights, switches and controllers needs a clear map.
- Keep changes easy. Clients often move switches or add features after handover.
- Protect your margin. Labour time is the biggest cost you can control.
Smart wiring can be part of the original design.
Smart Home Pre-Wiring Checklist for New Builds
Before the plasterboard goes up, check that the basics are covered. A pre-wiring checklist catches gaps while changes are still cheap.
Use this checklist on every new build:
- Confirm the smart features the client wants, in writing
- Mark switch and controller positions on the floor plan
- Check that a neutral wire is available at each switch position
- Note the power supply and circuit layout for each area
- Plan cable routes that avoid crossing high-voltage runs
- Leave spare cable at key points for future changes
- Photograph the cable runs before the walls are closed
Older homes and some renovations do not have a neutral wire at every switch. Check this early, because it can affect which products will work.
A photo record can help when locating a cable behind a wall later.
Structured Cabling for Smart Homes: What to Run and Where
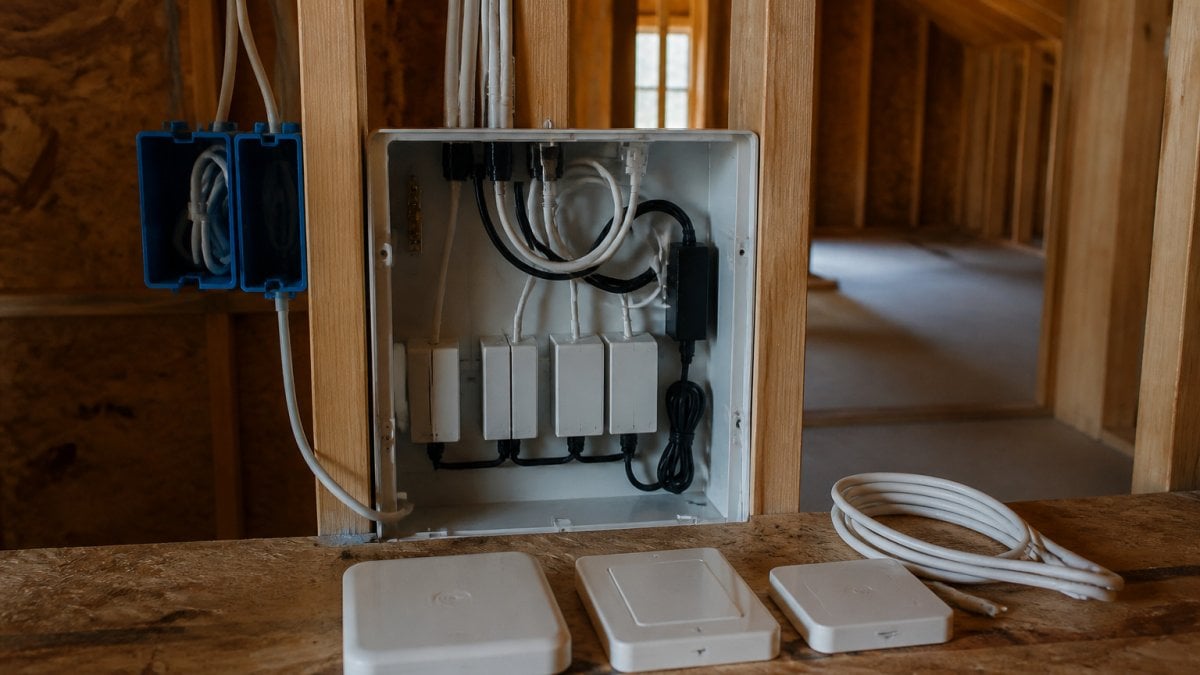
Structured cabling means running a planned set of cables to a central point, rather than wiring each feature on its own.
Think about three groups of cable:
- Power feeds for lights, switches and controllers
- Data or control cable that links devices to a hub or controller
- Spare runs for features the client may add later
Keep low-voltage and mains cable apart where you can. Label every cable at both ends.
A simple rule helps: run cable where the switch will sit, and where the controller will live. Put the controller in a ventilated, accessible spot, such as a switchboard or utility cupboard.
A short extra run during the first-fix stage can provide spare capacity for future changes.
Step-by-Step Smart Home Wiring Installation
Once the plan is set, the install follows a sequence.
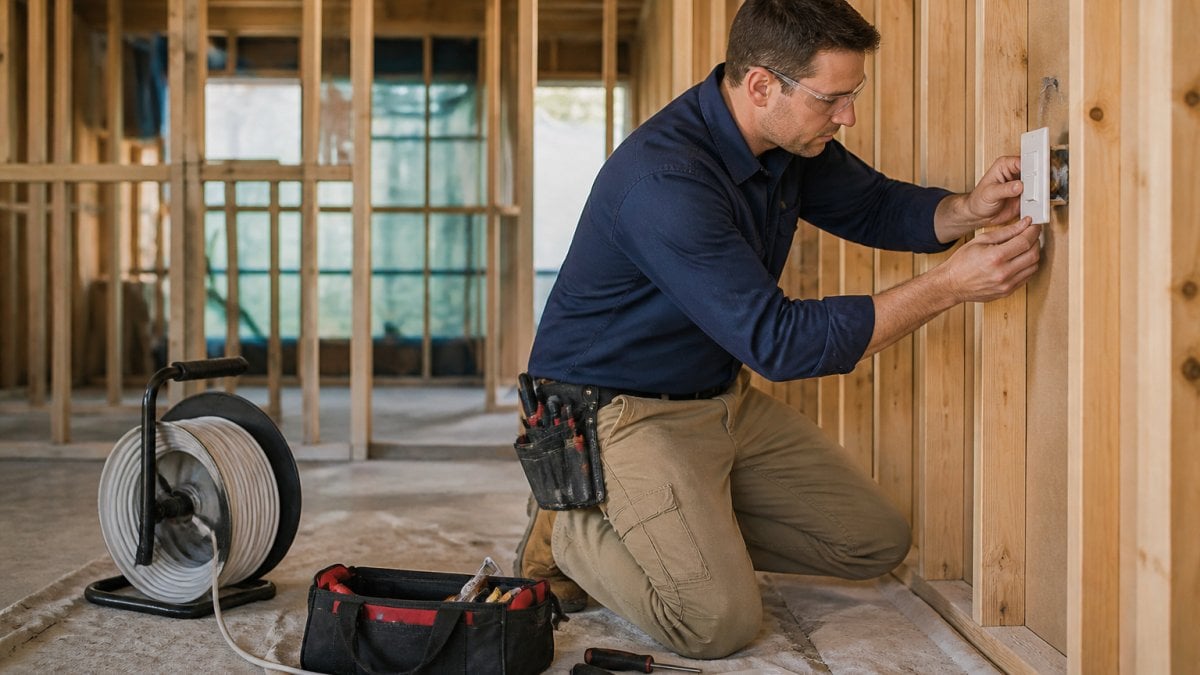
Planning the Circuits and Cable Routes
Start with the floor plan. Mark every switch, light, and controller position. Then map the circuits that feed each area.
Check the route from each switch back to the controller. Look for obstacles such as framing, ducts, and plumbing. Choose routes that are short and direct.
Expected result: A marked plan that shows every cable route before any cable is pulled.
Installing the Backbone and Terminating Points
Run the backbone cable first. Then install the boxes and terminate each point. Leave enough slack to work with at each box.
Test every run before you close the wall. Record the results on the plan.
Expected result: Each cable point is labelled, tested and ready for the switch or controller.
Wireless Switch Kits for Builders on Tight Timelines
Some builds leave little room for full in-wall wiring. Wireless switch kits offer another route.
Gem Wireless offers wireless switch module kits with plug-and-play system integration. The kits address the challenge of complex, costly in-wall wiring.
Wireless kits can be used in renovations and retrofits. For new builds, wireless switching is another option.
Compare the options against the job. Check the switch type, the load and the neutral wire before you choose.
Smart Home Wiring Cost Factors and Cost-Saving Tips
Pricing varies by quantity, delivery timing and the scope of the job, so request a quote for your specific project. Check Gem Wireless’s website or get in touch for current pricing.
The main cost factors are:
- Labour hours for cable runs, boxes and terminations
- Materials, including cable, boxes and controllers
- Rework caused by poor planning or missed cable runs
- Testing and commissioning time at handover
Cost-saving tips for small builders:
- Plan the cable runs before the first day on site
- Use one clear standard for labels and cable colours
- Batch similar tasks, such as all the switch boxes in one pass, and see practical ways to reduce electrical labour expenses without cutting corners.
- Use wireless kits where a wired run would cause heavy wall work, and check our guide to buying wireless lighting control modules to see what to look for.
Planning before the walls are closed can help identify issues early.
The main cost factors for smart home wiring, as covered in this section, are:
| Cost factor | What drives it | Note |
|---|---|---|
| Labour hours | Cable runs, boxes and terminations | Usually the biggest cost you control |
| Materials | Cable, boxes and controllers | Varies with the scope of the job |
| Rework | Poor planning or missed cable runs | Planning before walls close reduces it |
| Testing and commissioning | Checks at handover | Adds time at the end of the job |
Booking a Wiring Consultation for Your Next Build
Every build is different, so the starting point is a conversation about your plans.
Get in touch today. Gem Wireless is a family-owned and operated business.
Frequently Asked Questions
What wiring should a new home have for smart home technology?
Gem Wireless offers wireless switch module kits for plug-and-play integration, addressing the challenge of complex, costly in-wall wiring. For current pricing, check Gem Wireless’s website or get in touch.
Is wired or wireless smart home technology better for a new build?
Gem Wireless offers wireless switch module kits with plug-and-play system integration. Its solutions address the challenge of complex, costly in-wall wiring in new builds, renovations and retrofits.
Can wireless switches reduce the need for in-wall wiring?
Gem Wireless’s wireless switch module kits address the challenge of complex, costly in-wall wiring and offer plug-and-play system integration for renovations and retrofits.

smart home pre-wiring checklistsmart home wiringsmart home wiring cost factorssmart home wiring for small buildersstructured cabling for smart homeswireless switch kits for builders