- Empty cart.
- Continue Shopping

Last Updated: October 23, 2026
Quick Summary
You can add light switches without rewiring by installing wireless light switch kits, which use battery-powered transmitters and receiver modules that communicate via radio frequency instead of requiring new electrical cables or wall damage.
- Wireless receivers connect to existing live and earth wires using simple terminal blocks, no neutral wire required.
- Transmitters can be mounted on walls, shelves, drawers, or carried as portable remotes for flexible placement.
- Installation involves turning off power, mounting the receiver module in the switch box, pairing the transmitter, and testing connections.
- Wireless switching works with incandescent, LED, halogen, and smart bulbs in older properties lacking neutral wires.
- Labour time and costs are significantly lower than traditional rewiring with zero wall damage or restoration needed.
Table of Contents
- Why Add Light Switches Without Rewiring
- Understanding Wireless Light Switch Technology
- What You’ll Need Before Starting
- How to Install a Wireless Light Switch Kit
- Adding a Second Light Switch Without Wall Damage
- How to Install a Light Switch Without Damaging Walls
- Common Installation Mistakes to Avoid
- Cost Savings and ROI for Contractors and Homeowners
- Frequently Asked Questions
Why Add Light Switches Without Rewiring
You can add light switches without rewiring by using wireless technology instead of cutting into walls, running cable through plasterboard, and hiring an electrician for hours of labour. It’s expensive, disruptive, and leaves your property scarred until repairs are finished.
Wireless light switch technology changes that equation entirely. You can add a second light switch, control lights from multiple locations, or retrofit smart lighting into older properties without touching the walls. No rewiring. No damage. No weeks of restoration work.
At Gem Wireless, we’ve helped electricians and homeowners simplify installations that would otherwise demand traditional in-wall rewiring. This guide walks you through how wireless switching works, what you need to get started, and the exact steps to install a wireless light switch kit properly.
Understanding Wireless Light Switch Technology
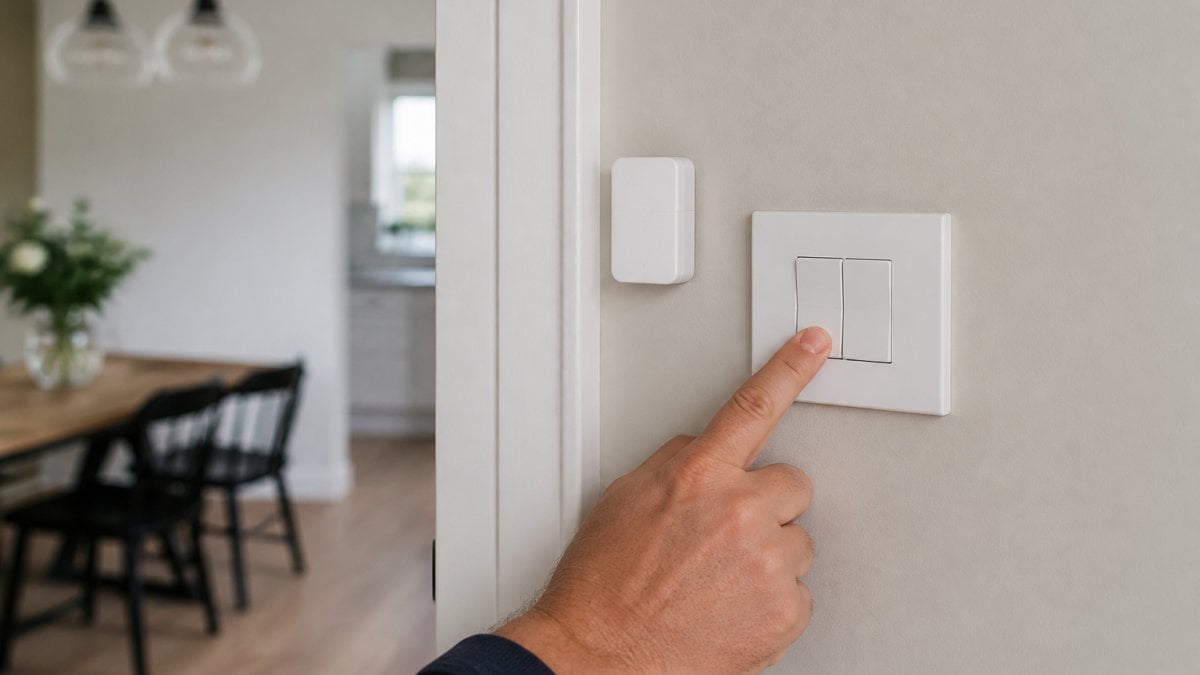
Wireless light switches operate on radio frequencies. A battery-powered transmitter (the switch you press) sends a signal to a receiver module installed at your light fixture or in the switch box. The receiver then controls the light on or off. No wires between the two. No conduit. No wall damage.
How wireless modules communicate with existing fixtures
The transmitter broadcasts a coded signal across a secure frequency. The receiver listens for that specific code and responds by switching power to the light circuit. Most modern wireless systems use specific frequencies, depending on the region and the system design.
The receiver module sits inside your existing switch box or light fixture. It connects to your current wiring, the power supply already running to that location.
This approach works with almost any light fixture, incandescent, LED, halogen, or smart bulbs. The wireless module acts as a middleman between your existing electrical supply and the light itself.
Compatibility with older properties and neutral wire challenges
Older properties often lack a neutral wire in the switch box. Traditional smart switches require a neutral to power their internal processors. Wireless receivers don’t. They draw power directly from the switched live wire, making them ideal for period properties, heritage buildings, or any installation where running a neutral wire would be impractical or destructive.
This is one of the biggest advantages of wireless switching. If your property has no neutral wire available, wireless modules bypass that problem entirely. You’re not limited by the existing electrical infrastructure, you work with what you have.
What You’ll Need Before Starting
Tools and materials checklist
Before you begin, gather these items:
- Wireless light switch kit (transmitter and receiver module)
- Screwdriver set (flathead and Phillips)
- Voltage tester or multimeter
- Torch or headlamp
- Wire strippers (if connections need adjustment)
- Masking tape and a pen (for labelling)
- Safety glasses
Most wireless kits come with mounting brackets, adhesive strips, and basic fixings. Check your kit’s manual to confirm what’s included.
Safety precautions and electrical considerations
Turn off power at the circuit breaker before touching any existing wiring. Use a voltage tester to confirm the power is off, do not rely on the switch alone. Even with power off, treat all wiring with respect.
Wear safety glasses when working in tight spaces. If you’re uncomfortable working inside a switch box or light fixture, call a qualified electrician. Electrical work carries real risks if done incorrectly.
Ensure your wireless kit is rated for your region’s electrical standards. In Australia, check that the receiver module complies with relevant electrical safety standards. If you’re unsure, consult a licensed electrician before proceeding.
How to Install a Wireless Light Switch Kit
Step 1: Turn off power and assess your current setup
Switch off the circuit breaker controlling the light you want to add a switch to. Wait a few seconds, then test the light to confirm it’s off. Use a voltage tester on the wires inside the switch box to double-check there’s no live current.
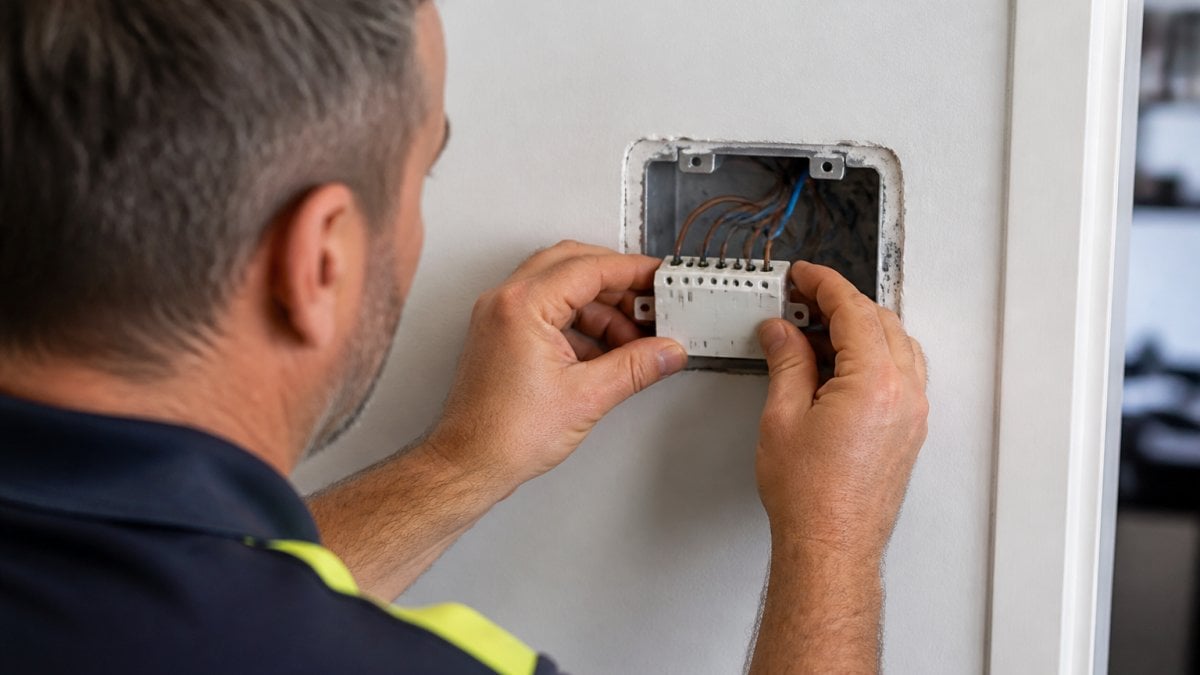
Once power is confirmed off, look at your existing setup. Identify where the power enters the switch box. Note the colour of the wires, typically live (brown or red), neutral (blue), and earth (green or bare copper). Take a photo with your phone for reference.
Step 2: Mount the wireless receiver module
The receiver module connects to your existing live and earth wires.
Follow your kit’s wiring diagram exactly. Connect the live wire from your power supply to the “input” terminal on the receiver. Connect the earth wire to the earth terminal. The output terminals connect to the wires running to your light fixture.
Mount the receiver inside the switch box using the bracket provided. Ensure it’s secure and won’t move if the box is disturbed. If your switch box is too small, you may need to use a deeper box or a surface-mounted enclosure.
Step 3: Pair the wireless transmitter to your light
Once the receiver is installed and wired, turn the power back on at the circuit breaker. Most wireless systems require you to press a pairing button on the receiver to put it into “learning mode.” Then press the transmitter button. The receiver learns the transmitter’s signal code.
Check your kit’s manual for the exact pairing sequence, it varies between brands. Some systems pair automatically; others require manual steps. Once paired, pressing the transmitter button should turn the light on and off.
Test the range. Walk to different rooms and press the transmitter. Confirm the light responds reliably. If the signal is weak or inconsistent, reposition the receiver or check for radio interference from other devices.
Step 4: Test all connections and controls
Flip the light on and off using the wireless transmitter several times. Check that the response is immediate and consistent.
If the light flickers, doesn’t respond, or responds intermittently, turn off the power and recheck your wiring connections. Loose terminal block screws are a common cause of poor performance.
Once everything works reliably, label the circuit at your fuse box so future electricians know this light is controlled wirelessly. This prevents confusion during maintenance or upgrades.
Adding a Second Light Switch Without Wall Damage
Placement options for wireless transmitters
The beauty of wireless switching is flexibility. Your second “switch” doesn’t have to go on the wall. You can mount it:
- On the wall next to the existing switch (using adhesive strips or light fixings)
- On a shelf or table near the door
- Inside a drawer for hidden control
- On a keyring as a portable remote
- On a bedside table for bedroom lighting
Choose a location based on convenience and aesthetics. If you want the transmitter to look like a traditional switch, mount it on the wall at standard switch height. If you prefer a cleaner look, use adhesive strips to attach it where it won’t be noticed.
Repositioning switches easily as needs change
Unlike traditional wiring, wireless transmitters can be moved instantly. If you install a transmitter on the wall and later decide you’d prefer it on a shelf, simply unmount it and relocate it. No rewiring. No wall damage. No repair work.
This flexibility is valuable in rental properties, temporary installations, or properties where your needs change frequently. You’re not locked into the original placement.
How to Install a Light Switch Without Damaging Walls
Surface-mounted solutions for renovations and retrofits
If you need to add a light switch in a location where no existing wiring runs, surface-mounted solutions protect your walls. Run a surface-mounted conduit from your power source to the new switch location. Inside the conduit, run new cable.
Surface-mounted conduit comes in various finishes, white, black, metal, so it can blend with or complement your décor. It’s more visible than hidden wiring, but it eliminates the need for wall repairs.
For wireless switching specifically, you don’t need any new wiring at all. Mount the wireless receiver at your existing light fixture (no new cable required), then place the wireless transmitter wherever you want the new switch to be. No surface conduit. No wall damage.
Protecting existing plasterboard and finishes
When working near walls, protect the surrounding area. Use masking tape around switch boxes and light fixtures to prevent dust and debris from marking the wall. If you’re working in a finished space, lay down a dust sheet beneath the work area.
If your switch box is recessed into the wall and you need to fit a deeper receiver module, you have two options: fit a deeper box (requires cutting), or use a surface-mounted enclosure that sits on top of the existing box without cutting deeper. The surface-mounted option preserves the wall completely.
Common Installation Mistakes to Avoid
Forgetting to turn off power. Always switch off at the breaker and test with a voltage tester. This is non-negotiable.
Loose terminal block connections. Tighten every screw firmly. Loose wires cause flickering, intermittent control, or complete failure. Check connections twice.
Pairing the wrong transmitter to the receiver. If you have multiple wireless kits in the same property, ensure each transmitter is paired to its correct receiver.
Mounting the receiver in a location with poor radio range. Metal switch boxes and buried enclosures can weaken the wireless signal.
Overloading the receiver module. Check your kit’s power rating.
Not testing before finishing. Always test the wireless connection before you close up the switch box or finish the installation.
Cost Savings and ROI for Contractors and Homeowners
For electricians and contractors, wireless switching cuts labour time significantly. No wall cutting, no conduit bending, no cable pulling through existing walls.
Homeowners benefit from lower installation costs and zero wall damage. No plasterer needed. No redecorating. The property looks finished immediately after installation.
For rental property managers and commercial spaces, wireless switching enables quick reconfiguration.
The upfront cost of wireless kits varies depending on the system and the number of modules you need. For specific pricing and to discuss your project requirements, get in touch with Gem Wireless today.
Wireless light switching solves a genuine problem: the cost and disruption of traditional rewiring.
Frequently Asked Questions
Can you add a light switch without rewiring?
Yes. Wireless light switch kits let you add switches and control points without running new wiring through walls. The wireless transmitter communicates with a receiver module connected to your existing light fixture or circuit. This approach works for renovations, retrofits, and new builds where traditional in-wall wiring would be costly or disruptive. Installation typically takes minutes rather than hours.
How does a wireless light switch work with older properties that have no neutral wire?
Older properties often lack neutral wires in switch boxes, which can complicate traditional smart lighting. Wireless modules bypass this issue entirely because they operate independently of the existing wiring configuration. The receiver connects directly to your light fixture or existing circuit, while the wireless transmitter sends signals remotely. This makes wireless solutions particularly valuable for heritage properties and older installations where rewiring would be invasive and expensive.
Do I need an electrician to install a wireless light switch?
Many wireless switch kits are designed for DIY installation, though electrical work regulations vary. For safety-critical tasks like connecting the receiver module to your circuit, consulting a licensed electrician is wise, particularly in commercial settings. Homeowners can often handle transmitter placement and pairing themselves. Always check local electrical safety standards and your property’s insurance requirements before proceeding independently.
What’s the difference between a wireless switch and a smart bulb?
A wireless light switch controls any existing fixture through a receiver module, whereas a smart bulb replaces the bulb itself and requires compatible fittings. Wireless switches work with traditional bulbs and fixtures, making them ideal for retrofits. Smart bulbs offer more colour and brightness options but require compatible sockets and can be costlier to replace across multiple fittings. For straightforward on-off control without fixture replacement, wireless switches are typically more practical and cost-effective.

add a second light switchadd light switches without rewiringhow to add light switches without rewiringwireless light switchwireless light switch kit