- Empty cart.
- Continue Shopping

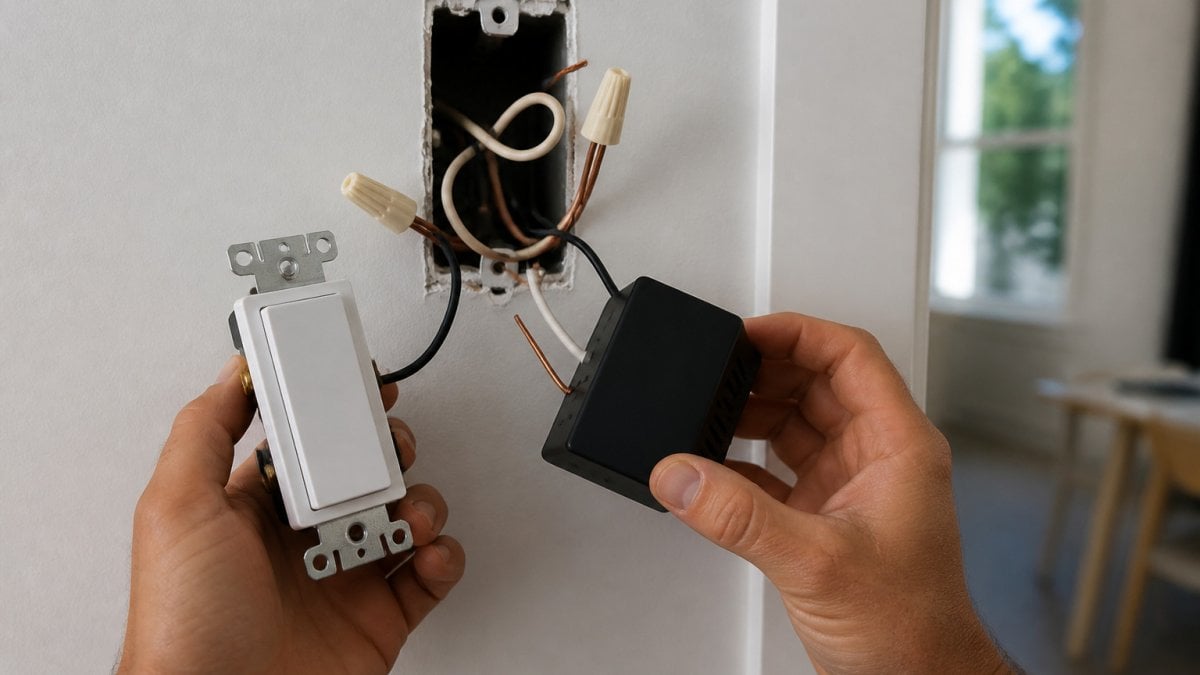
Last Updated: October 30, 2026
Quick Summary
You can fit a smart switch without neutral wire where the switch box holds only a live and a switched live. Most setups work, but performance depends on the switch model, lamp type and wiring, so check the manufacturer’s compatibility list before buying. Test the box first, because wire colour alone does not prove a neutral is missing.
- Count the conductors and look for an N terminal, but treat these as hints until testing confirms.
- Add up the wattage of every lamp on the circuit, not only the one nearest the switch.
- Mains-voltage LEDs are the most common failure point because they often fall below the minimum load.
- Buy one switch and test it on the actual circuit before ordering a whole-house batch.
- Stop and call an electrician if you cannot prove the circuit is dead or the wiring does not match expectations.
Table of Contents
- How No-Neutral Smart Switches Work
- Checking for a Neutral Wire in Your Switch Box
- Confirming Compatibility With Your Lights and Wiring
- Step-by-Step Installation Without a Neutral Wire
- Retrofitting a Wireless Smart Switch Without Rewiring
- Troubleshooting Flicker and Glow After Installation
- Booking Your Wireless Retrofit With Gem Wireless
- Frequently Asked Questions
How No-Neutral Smart Switches Work
A smart switch without neutral is designed for the common case where a lighting switch box has only a live wire and a switched live, with no neutral return.
A traditional smart switch draws a small amount of power from the neutral wire to keep its electronics running.
Key terms to know:
- Live wire: Carries the supply voltage to the switch.
- Switched live: Carries power from the switch to the light fitting.
- Neutral wire: Completes the circuit back to the supply. Many older British switch boxes do not have one.
Qualified language matters here. Performance depends on the switch model, the lamp type and the wiring, so always check the manufacturer’s instructions before buying.
Checking for a Neutral Wire in Your Switch Box
Before you buy anything, establish what is actually in the box. Wire colour alone is not proof of function: older installations do not always follow current colour conventions, and a conductor that looks like a neutral may be a switched live or a borrowed feed. Treat every conductor as live until testing proves otherwise.
What you can check safely without test equipment
With the circuit isolated and the switch plate removed, you can make limited visual observations:
- Count the conductors and terminals. A single switch with one live, one switched live and no third conductor is a strong hint that no neutral is present at the switch, but it is only a hint.
- Look for a terminal marked N. Some switch plates and modules have a neutral terminal even when no neutral conductor is connected. An empty N terminal means the switch position is not neutral-ready.
- Check the back box for a connector block. A choc-block or connector with an unused conductor may be a neutral looped through the box, or it may be something else entirely.
None of these observations confirms function. They only tell you whether it is worth testing further.
What requires testing
Confirming a neutral requires a voltage indicator or multimeter used by someone competent to do so, with the circuit isolated and proved dead first, then re-energised only under a safe test procedure. Testing for presence of a neutral typically involves checking continuity and polarity against a known reference, not simply touching a probe to a coloured wire. If you are not confident in that procedure, stop.
Watch Out
Do not use a neon screwdriver as your only test instrument. It can indicate voltage but cannot prove a circuit is dead or identify a neutral reliably. A two-pole voltage tester or a properly rated multimeter is the appropriate tool.
Do not use a neon screwdriver as your only test instrument. It can indicate voltage but cannot prove a circuit is dead or identify a neutral reliably. A two-pole voltage tester or a properly rated multimeter is the appropriate tool.
Common switch-box arrangements
- Loop-in at the ceiling rose or fitting: the switch box usually contains only live and switched live, with no neutral. This is the classic no-neutral case.
- Loop-in at the switch: a neutral may be present in the switch box, looped through to the next point. This is neutral-ready.
- Older two-wire switch drops: live and switched live only. No neutral.
When to stop and call an electrician
Stop if any of the following apply: you cannot prove the circuit is dead; the wiring colours do not match the expected arrangement; there are more conductors than the switch terminals can account for; the back box contains scorching, loose terminals or damaged insulation; or the property has older rubber or fabric-insulated cable. Persistent issues with decaying insulation or outdated electrical standards often necessitate a comprehensive plan to replace old wiring before any modern smart home upgrades can be safely integrated.
Key Takeaway
Visual inspection narrows the possibilities; only testing confirms them. If you cannot test safely, treat the box as no-neutral and choose a product designed for that case, or book an electrician to verify.
Visual inspection narrows the possibilities; only testing confirms them. If you cannot test safely, treat the box as no-neutral and choose a product designed for that case, or book an electrician to verify.
Confirming Compatibility With Your Lights and Wiring
Compatibility is where most no-neutral installations succeed or fail. Work through the branches below in order; stop at the first branch that rules your setup out, because later checks will not rescue it. Wiring a smart home properly covers the wider picture if you are planning more than one switch.
Branch 1: Lamp type and minimum load
No-neutral switches stay powered by passing a small current through the lamp circuit. That current must be enough to run the switch electronics but not enough to light the lamp.
- Incandescent and halogen: usually well above the minimum load and generally reliable. Drawback: higher running cost and heat.
- Mains-voltage LED: the most common failure point. A single low-wattage LED often falls below the minimum load, causing flicker, glow when off, or failure to power the switch at all.
- Low-voltage LED with a driver: the driver sits between the switch and the lamp, and its inrush and standby behaviour can confuse a no-neutral switch. Check the manufacturer’s list before assuming compatibility.
Rule of thumb: add up the wattage of every lamp on the circuit, not just the one nearest the switch. Several low-wattage LEDs on one circuit can still fall below the minimum load.
Branch 2: Dimming
If you want dimming, confirm three things: the switch is a dimming model, the lamps are dimmable, and the dimming method (leading-edge, trailing-edge or proprietary) matches the lamp driver. Many no-neutral dimmers have a higher minimum load than their switching-only equivalents, and some LEDs that dim acceptably on a neutral-required dimmer will misbehave on a no-neutral one. If dimming is essential and the load is marginal, a neutral-required dimmer with a bypass is often the more reliable route.
Branch 3: Switch arrangement
- Single switch: the simplest case. Confirm load and lamp type, then proceed.
- Two-way: one light controlled from two positions. Many no-neutral switches do not support two-way at all; those that do usually require a compatible module at both ends, or a wireless pairing between a master and a satellite switch. Check the specification explicitly, ‘two-way compatible’ is not universal.
- Multi-way (three or more points): less commonly supported. Where it is, expect a master-plus-satellites arrangement rather than traditional strapper wiring.
Branch 4: Manufacturer compatibility list
Every reputable no-neutral product publishes a compatibility list covering lamp makes, driver types and minimum loads. Check your exact lamp model, not just the lamp category. If your lamp is not listed, assume it is unsupported until you have tested it on a spare circuit.
Pro Tip
Buy one switch and test it on the actual circuit with the actual lamps before committing to a whole-house order. A single test installation costs far less than returning a batch of incompatible modules.
Buy one switch and test it on the actual circuit with the actual lamps before committing to a whole-house order. A single test installation costs far less than returning a batch of incompatible modules.
Quick decision checklist
- Total circuit lamp wattage is above the switch’s stated minimum load.
- Lamp type (incandescent, halogen, mains LED, driver LED) is on the manufacturer’s list.
- If dimming: switch is a dimmer, lamps are dimmable, dimming method matches.
If any box is unticked, do not install yet. Either change the lamp or switch to suit, or move to a wireless retrofit or smart-bulb approach that does not depend on the switch box’s wiring.
Step-by-Step Installation Without a Neutral Wire
Work through this process only after you have confirmed compatibility.
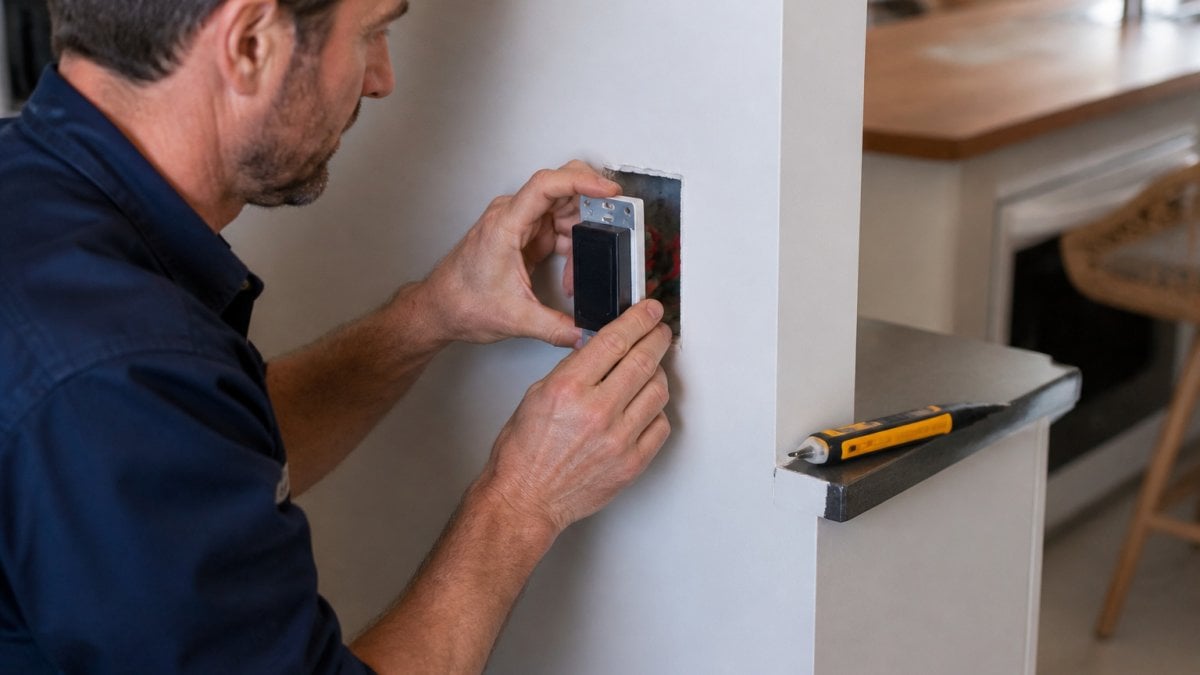
- Isolate the circuit. Switch off at the consumer unit and test the wires again.
- Fit the receiver or module. Connect it to the live and switched live as the manufacturer directs.
- Install the wall switch. Fit the controller in the switch plate position and tighten the terminals.
- Pair the switch. Follow the app or pairing instructions to link the switch to the module.
- Restore power and test. Turn the circuit back on and switch the light on and off several times.
- Check for glow or flicker. Test with each lamp in its normal state.
Watch out: If the light glows when switched off, the lamp is probably drawing too little current.
For safety, this work should be done by a qualified electrician or under professional supervision where required (Electrical workers).
The steps below summarise the installation process, with the points to watch for at each stage.
| Step | What to do | Watch out for |
|---|---|---|
| 1. Isolate the circuit | Switch off at the consumer unit and test the wires again | Test before touching any wire |
| 2. Fit the receiver or module | Connect to the live and switched live as directed | Follow the manufacturer’s instructions |
| 3. Install the wall switch | Fit the controller in the switch plate position | Tighten the terminals |
| 4. Pair the switch | Link the switch to the module via the app | Follow the pairing instructions |
| 5. Restore power and test | Switch the light on and off several times | Check the circuit works correctly |
| 6. Check for glow or flicker | Test with each lamp in its normal state | Glow when off suggests low lamp current |
Retrofitting a Wireless Smart Switch Without Rewiring
If the wiring or the switch box makes a standard smart switch impractical, a wireless retrofit avoids new cabling in the wall. Gem Wireless offers wireless switch module kits, which can add control without chasing new cable through the building.
The kit is a plug-and-play setup, and you can change switch locations later. Pricing depends on quantity, dates and delivery, so check the Gem Wireless website for current prices or request a quote.
For a deeper look at the options, read Add Light Switches Without Rewiring: A 2026 Guide and see available wireless light switch kits and installation costs. If you are weighing up cost, wireless switch kits compared with traditional wiring sets out the trade-offs. To avoid marking walls during an upgrade, see avoiding wall damage during home upgrades.
Troubleshooting Flicker and Glow After Installation
Most problems after installation fall into a few groups.
- Flicker: Often caused by a lamp that draws too little current. Try a higher-wattage lamp or a bypass as the manufacturer recommends.
- Glow when off: Usually a small leakage current through the lamp. A load capacitor can help.
- No response: Check the pairing, the wiring connections and the power supply.
Common mistake: Swapping in a cheap LED bulb after installation and expecting the same result. Always retest after changing lamps.
If problems continue, stop and call a qualified electrician. Your wiring may need professional attention.
Booking Your Wireless Retrofit With Gem Wireless
A no-neutral smart switch can save time and avoid rewiring, but only when the lamps, switch arrangement and wiring suit it. Start by checking your switch box for a neutral, then confirm compatibility before buying.
Get in touch today with Gem Wireless to ask about kits, compatibility and installation support. Ask for current pricing and a quote on the Gem Wireless website, and talk to your electrician about the right fit for your property.
Frequently Asked Questions
Is it possible to install a smart switch without a neutral wire?
Yes, many smart switches are designed to run without a neutral wire, using a small amount of current drawn through the lighting load to power their electronics. Whether a particular model suits your property depends on the switch design, the type of lights on the circuit and how the existing wiring is arranged. Check the manufacturer’s instructions and wiring diagram before purchase, and confirm the fit with a licensed electrician if you are unsure.
How do I know if my switch box has a neutral wire?
Isolate the circuit at the consumer unit, remove the switch plate and look for a neutral conductor, usually blue or black with a white or grey core, connected to the switch box or to the light fitting circuit. Confirm the circuit is dead with a voltage tester before touching any conductors. If you cannot identify the wires with confidence, have a licensed electrician check the box rather than guessing, as mistakes can cause shock or damage.
Will a no-neutral smart switch work with LED lights?
It can, but LED lamps are a common source of problems. Low-power LED drivers may not draw enough current for the switch to operate reliably, which can cause flicker or a faint glow when the light is off. Some products include a bypass or load capacitor to address this. Check the switch’s minimum load rating against your lamps, and test the combination before fitting every fitting in the house.
Can I install a no-neutral smart switch myself?
Installation involves working with live fixed wiring, so the work should be carried out by a licensed electrician in the UK. Even where a product is designed for simple retrofit, the circuit must be isolated and tested, and the installation must meet the relevant wiring rules and the manufacturer’s instructions. A professional can also confirm compatibility with your existing lighting and wiring before the switch is fitted.

checking for a neutral wire in a switch boxhow no-neutral smart switches workinstalling smart switches without neutral wiresmart switch without neutral