- Empty cart.
- Continue Shopping
Ways to schedule and zone decorative outdoor lights
- Posted on
 Strong Digital
- 0
- Categories: Uncategorized
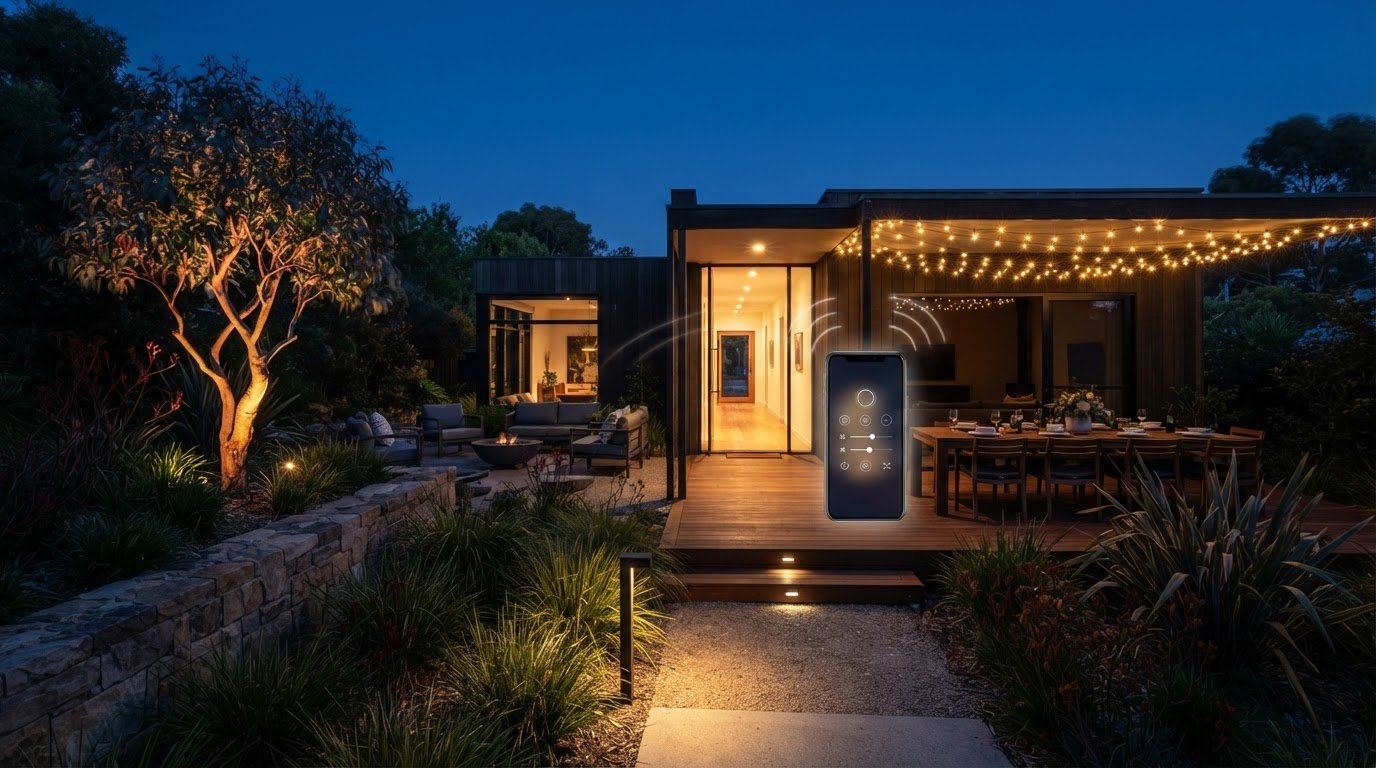
Outdoor lights shouldn’t have to run at full brightness all night. Decorative outdoor lighting control can schedule lights, adjust brightness and manage separate zones, so entrance and landscape lighting can follow normal evening hours while patio lights come on when the space is in use. For a residential outdoor area, warm white light around 2700-3000 K can create a softer feel.
Good outdoor lighting makes a space more inviting and easier to use. The challenge is coordinating timing, brightness and different areas. This guide explains how to plan schedules, choose colour temperatures, divide lights into zones and create scenes for different activities. You’ll also learn how to layer decorative lighting so pathways, seating areas and garden features get the light they need without making the whole space too bright.
Key Takeaways
- Plan spotlight positions and beam direction first to shape the effect before setting up controls.
- Layer wall, path, step and landscape lights so each area has a clear purpose.
- Group lights by how you use each outdoor space, then create scenes for different activities and moods.
- Explore wireless switching options to make existing lights easier to control without rewiring.
1. Scheduling brightness and colour temperature
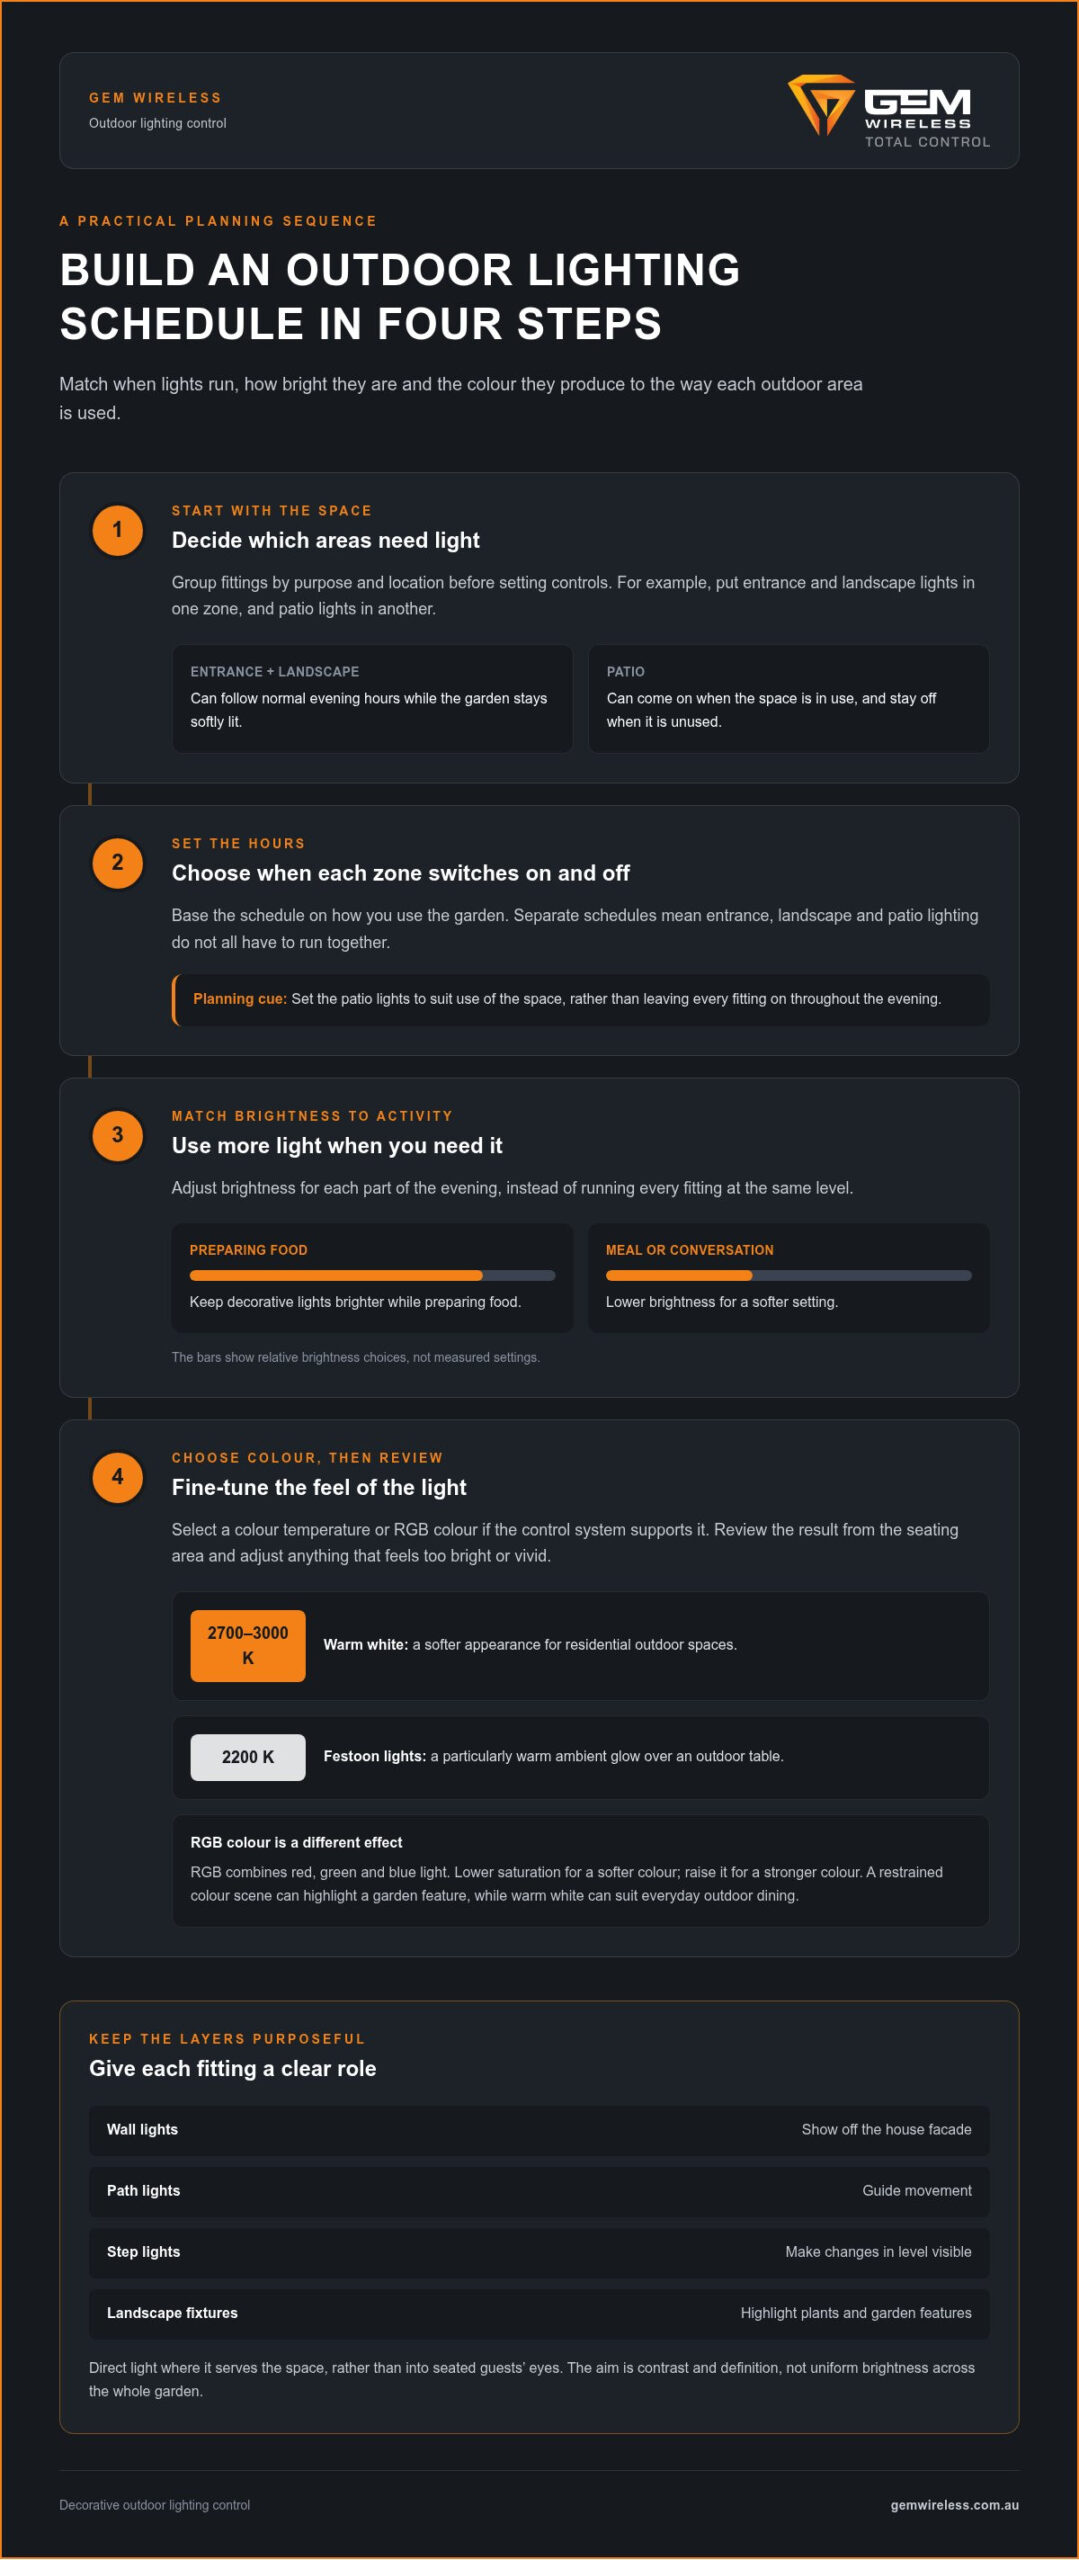
Set schedules around how you use the garden, then adjust the brightness for each part of the evening. For example, keep decorative lights brighter while preparing food, then lower the brightness for a meal or conversation. Options for scheduling and dimming depend on the control system. This practical approach to decorative outdoor lighting control matches the light to the activity instead of leaving every fitting at the same brightness all evening.
Choose the colour of the light as well as its brightness. For residential outdoor spaces, warm white around 2700-3000 K gives a softer appearance than cooler white. Festoon lights at 2200 K can create a particularly warm ambient glow over an outdoor table. These are different choices for different effects: use the warmer festoon light as atmosphere, and a brighter, warmer-white fitting where you need to see food or steps clearly.
RGB controls create a different effect from warm-white lighting. RGB combines red, green and blue light to produce colours, while warm-white LEDs give white light a warmer appearance. Saturation determines how vivid an RGB colour looks: lower it for a softer effect or raise it for a stronger colour. A restrained colour scene might highlight a garden feature, while warm white can suit everyday outdoor dining.
Build a schedule in stages. First, decide when each area should switch on and off, based on how you use it. Next, choose brightness levels for activities such as preparing food and entertaining. Then select a colour temperature or RGB colour if your system supports it. Review the result from the seating area and adjust anything that seems too bright or vivid. This makes the lighting purposeful and the settings easier to manage.
2. Layering light and controlling zones independently
Give each outdoor fitting a clear role. Wall lights can show off the house facade, path lights can guide movement, and landscape fixtures can highlight plants. Step lights should make changes in level visible without becoming the brightest feature. These layers add contrast and definition, rather than lighting the whole garden uniformly.
Vary the height and direction of light to add depth. For example, pair low path lights with wall lighting and a landscape fitting aimed towards foliage. Hanging lights can add another layer above a dining area; example dropper lengths range from 50 cm to 1.2 m. Keep light directed where it serves the space, not into seated guests’ eyes.
For independent control, group fittings by purpose and location. Put entrance and landscape lights in one zone and patio lights in another. This lets you keep the garden softly lit while the patio lights are off when the space is unused. Give wall, path, step and feature lights separate controls only when they benefit from operating independently.
Outdoor controls and fixtures should suit their exposure conditions. Follow the manufacturer’s installation guidance and choose equipment with an IP rating appropriate to where it will be used. In coastal areas, salt and moisture can accelerate corrosion, so select materials and finishes suited to that environment. These checks help address the relevant installation and safety requirements without relying on a control setting to compensate for unsuitable equipment.
Whether an electrician is needed depends on the work. Changes to fixed mains wiring should be handled by a licensed electrician; plug-in low-voltage equipment avoids altering fixed wiring. Consider moisture, damaged cables and corrosion when planning placement. Choose connections and controls suited to conditions around the garden, patio or path.
Energy use depends on a fitting’s power demand and how long it runs; running cost also depends on your electricity tariff. Compare those details for each light, then use schedules or separate zones to avoid operating areas unnecessarily. Australian-market control options include switching modules, mains-powered switches and long-range switches. Their suitability depends on the existing lights and the control arrangement you need.
3. Smart outdoor lighting controls and custom scenes
Start with the activities you want your outdoor lights to support. A dinner scene might keep table lighting steady while softly highlighting a garden feature. A quiet-evening scene could use fewer lights at lower brightness. Note the purpose of each scene, then assign only the relevant fittings. Each setting will have a clear role, without switching on every outdoor light for every activity.
To control lights with a phone, voice assistant or home automation system, the control equipment needs to support that connection. Set up supported light groups in its interface, then use the available commands to switch or adjust them. For example, a group labelled “patio” is easier to use than several fittings with unclear names. The available phone and voice options depend on the control system.
Preset scenes offer ready-made settings for activities such as entertaining, relaxing or highlighting a feature. If your system supports custom scenes, adjust the selected lights and save the combination you prefer. For homeowners curating a restful setting to support physical recovery and wellbeing after a long day, pairing gentle ambient lighting with wellness devices from Pureffect can create an ideal environment for evening relaxation. Keep everyday scenes simple and reserve stronger colours or flashing for occasions that call for them.
A custom lighting plan can define which features to highlight, where fittings sit and how each group operates. For a garden with a dining area and a path, map those areas separately before choosing scene names and settings. This also helps explain the intended layout when requesting a project quote. Set out the fittings, control points, zones and scene functions you want included, so the proposed work can be considered against a clear brief. Review each scene at night and refine it if a fitting draws attention away from its intended feature.
Outdoor lighting controls should support the lighting design, not compensate for poorly chosen or positioned fixtures. If a scene relies on controls to make an unsuitable fitting or location work, revisit the fixture choice or position before adding another setting.
4. Smart controls, schedules and zoning
Choose a control method based on how you use each outdoor space. A timer switches lights at set times, while a photocell responds to changing daylight. Motion sensors activate lights when they detect movement. Depending on its functions, a smart controller can combine schedules and separate zones. A timer follows your routine; a photocell responds to dusk as daylight hours change.
To set a schedule, decide when each area should operate, then assign its lights to a suitable zone. For example, schedule entrance and landscape lights for your usual evening hours, while keeping patio lights off when the area is not in use. Use a dusk-to-dawn setting if you want lighting to follow daylight, or a timer if a consistent operating window better suits your routine.
Motion sensors can suit areas where lights are useful only when someone is present, such as a side path. Aim the sensor at the approach, away from nearby areas that could trigger it unnecessarily. If the lights also follow a schedule, set both controls to work together. For example, let the path lights respond to movement during the hours you want them active. The available settings depend on the control system.
Keep zones practical. Group fittings with the same purpose, such as an entrance light and nearby path lighting, and separate a garden feature you want to operate independently. Test each schedule after dark. Check that the right spaces are lit, unused zones stay off and movement activates the intended fittings. Adjust the timing or sensor direction if the result doesn’t suit how you use the area.
For simpler control of existing lights, explore wireless switching options and consider how they could fit your zone plan.
Gem Wireless: Switch Module Kits
Gem Wireless Switch Module Kits add wireless control to lighting and switching systems. They work with existing switches and lights without rewiring, making them an option for residential and commercial settings. For decorative outdoor lighting, they can help you control existing fittings as part of a planned setup.
Gem Wireless also offers Mains Powered Switches, Long Range Switches and Switching Modules. The right product depends on your lighting arrangement and the control you want, such as operating a group of outdoor lights from a switch. Explore the product range to find a suitable way to make your lighting easier to manage.
Explore the Gem Wireless website to learn more about its switching options.
Make your lighting plan practical
Before changing your setup, note which outdoor lights you want to operate together and what should happen when each space is unused. A simple plan can clarify whether you need straightforward switching or more independent control across the garden, entrance and patio. It also gives you a starting point for deciding how decorative outdoor lighting control could work with your existing switches and lights.
Consider how you use the space, not just the effect you want at night. A lighting arrangement that works for dinner may not suit a quiet evening or a clear path to the entrance. Keeping these different needs in mind helps you choose a control approach that is straightforward to use.
If you’re ready to explore wireless lighting control, contact Gem Wireless about lighting controls. A practical plan is a good first step towards outdoor lighting that works the way you live.
Frequently Asked Questions
What types of decorative outdoor lighting controls are available in Australia?
Common control options include timers, photocells, motion sensors, smart controllers and wireless switching hardware. A timer follows set operating times, a photocell responds to daylight, and a motion sensor activates lights when it detects movement. A photocell may suit an entrance light that should respond to dusk, while a motion sensor can control an occasionally used side path. Choose according to how you use the space.
How much do outdoor lighting controllers and installation cost in Australia?
Costs depend on the control hardware, the number of light groups and any work needed to connect them. Separate hardware costs from installation labour, particularly if the setup involves fixed wiring. Electricity is an ongoing cost, based on each light’s power demand, operating time and your tariff. Listing the fittings and control tasks helps define what the project involves.
Are outdoor lighting controllers rated for rain, dust and Australian weather?
Some controls and fixtures are designed for outdoor use, but suitability varies by product. Follow the manufacturer’s installation guidance and check that the controller’s IP rating suits its location, whether on an exposed wall or a sheltered patio. Consider more than rain and dust: coastal air can accelerate corrosion, so nearby fixtures and finishes should also suit the environment.
decorative lightinggarden lightinglighting scheduleslighting zonesoutdoor lightingpatio lightingsmart lighting